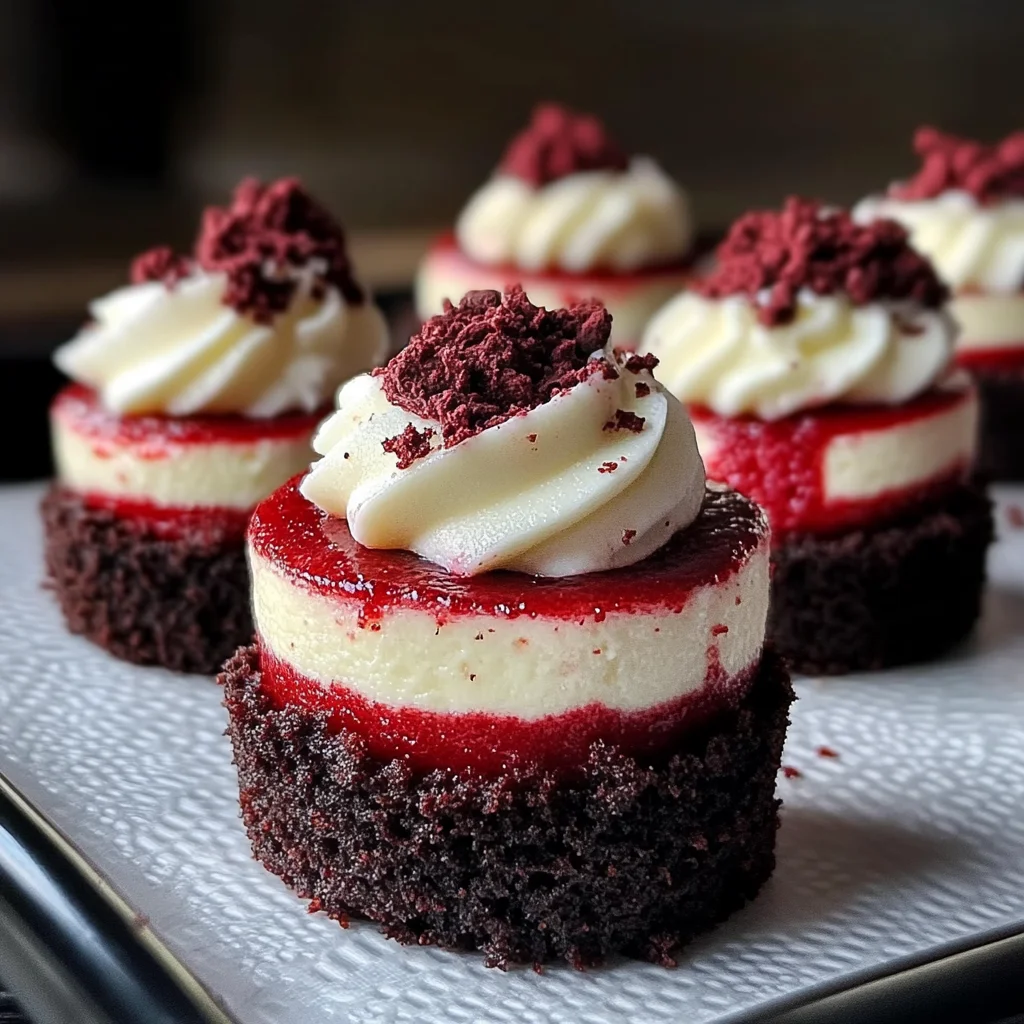
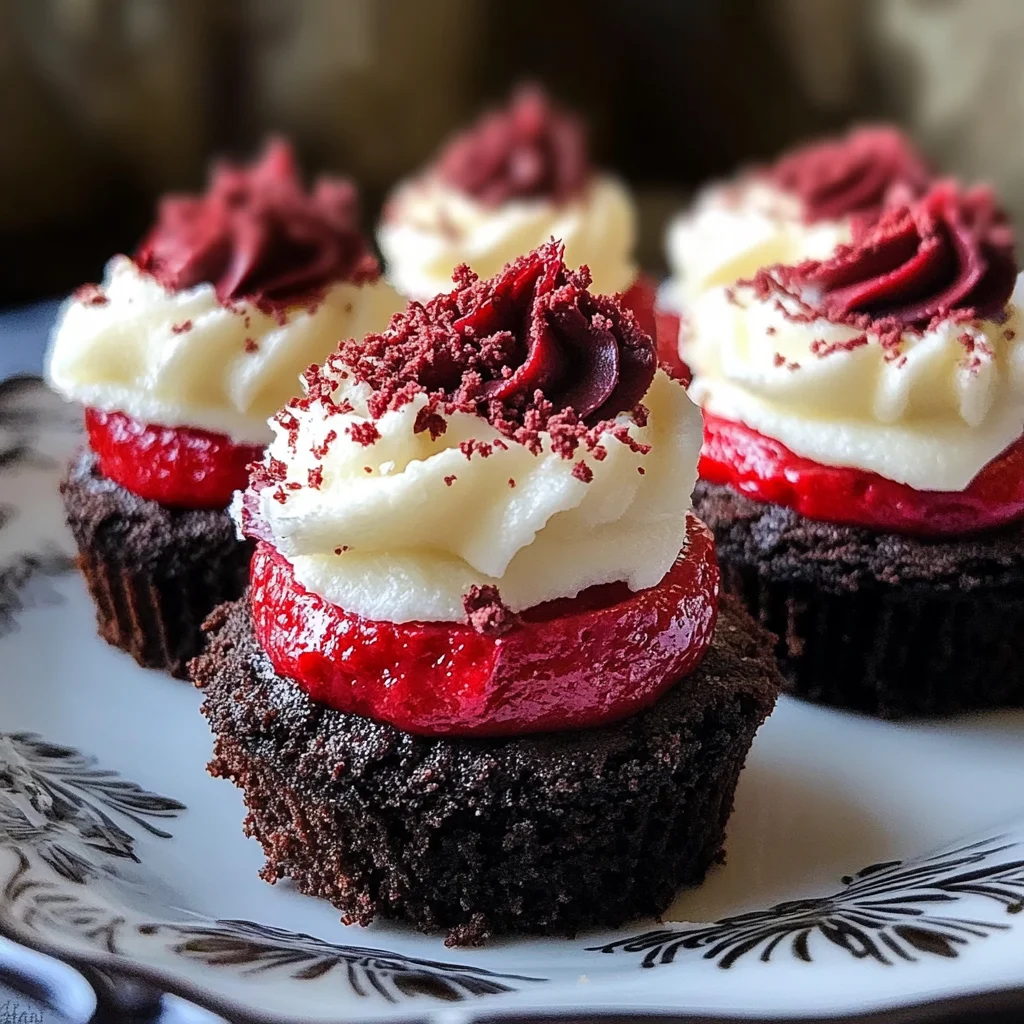
Mini Red Velvet Cheesecakes
If you’re looking for a dessert that steals the show, then Mini Red Velvet Cheesecakes are your answer. These delightful little treats are not just visually stunning with their rich red color, but they also deliver an explosion of flavor with every bite. But what truly sets them apart is the creamy texture that melts in your mouth, making them perfect for any occasion—whether it’s a cozy family dinner, a festive gathering, or simply treating yourself after a long day.
Growing up, red velvet was always that special dessert we saved for celebrations. It meant love and togetherness, and when cheesecake joined the mix, it felt like pure magic. Each mini cheesecake is crafted with care, layering deliciousness and tradition into every step. Trust me, once you make these charming desserts, they’ll quickly become a favorite in your home too!
Why You’ll Love This Recipe
- Quick to prepare: These mini cheesecakes come together effortlessly, making them ideal for busy weeknights or last-minute gatherings.
- Family-friendly: With their cute size and luscious taste, everyone—from kids to adults—will want one (or two!).
- Make-ahead convenience: Perfect for meal prepping or entertaining; you can chill them overnight and serve when ready.
- Versatile toppings: Dress them up with whipped cream or cream cheese frosting for that extra special touch.
- Deliciously indulgent: The rich flavors of red velvet combined with creamy cheesecake will satisfy even the strongest sweet tooth.
Ingredients You’ll Need
These Mini Red Velvet Cheesecakes are made from simple, wholesome ingredients that you may already have in your pantry. Let’s gather everything we need to whip up this delightful treat!
For the Crust
- 1 cup chocolate cookie crumbs
- 2 tablespoons granulated sugar
- 4 tablespoons melted unsalted butter
For the Cheesecake Filling
- 16 oz cream cheese, softened
- 1/2 cup granulated sugar
- 1 tablespoon unsweetened cocoa powder
- 1/4 cup sour cream
- 1 large egg
- 1 teaspoon vanilla extract
- 1 tablespoon red food coloring
- 1 tablespoon all-purpose flour
Optional Topping
- Whipped cream or cream cheese frosting
Variations
Feel free to get creative with this recipe! Mini Red Velvet Cheesecakes are wonderfully flexible and can be adapted in many ways to suit your taste.
- Experiment with crusts: Try using a graham cracker base or even an Oreo crust for an added chocolate twist.
- Add some zest: Mix in a teaspoon of lemon zest for a bright contrast to the richness of the cheesecake.
- Change the color: Swap out red food coloring for another hue to match your celebration—think green for St. Patrick’s Day!
- Make them bite-sized: Pour the filling into mini muffin tins instead of standard ones for adorable bite-sized treats.
How to Make Mini Red Velvet Cheesecakes
Step 1: Prep the Pan
Start by lining a 12-cup muffin tin with paper liners. Preheat your oven to 325°F (160°C). This step makes sure that our cheesecakes bake evenly and don’t stick to the pan.
Step 2: Make the Crust
In a small bowl, mix together the chocolate cookie crumbs with granulated sugar and melted butter. Stir until everything is nicely coated. Divide this mixture between each cupcake liner (about a tablespoon each) and press down firmly using the back of a spoon or small glass. Baking it for just 5 minutes helps set up a sturdy base for our creamy filling.
Step 3: Beat the Cream Cheese
In a medium mixing bowl, use an electric mixer to beat the softened cream cheese until it’s completely smooth—no lumps allowed! This step is crucial because it gives us that silky texture we crave in our cheesecakes.
Step 4: Add the Flavor
Now it’s time to add some sweetness! Mix in granulated sugar, cocoa powder, and flour until well combined. Then blend in sour cream, egg, vanilla extract, and red food coloring. The batter should be smooth and vibrant—just like love at first sight!
Step 5: Fill and Bake
Spoon the cheesecake mixture evenly into each prepared crust. Pop them into your preheated oven and bake for about 18–20 minutes. They might jiggle slightly in the center—that’s perfectly okay as they will set while cooling.
Step 6: Cool and Chill
After baking, let your cheesecakes cool in their pan for about 15 minutes before transferring them to a wire rack. Once they reach room temperature, refrigerate them for at least 2 hours (or overnight) to achieve that perfect texture we all adore.
Step 7: Top and Serve
Just before serving these beauties, add a dollop of whipped cream on top or pipe on some cream cheese frosting for an extra-special touch. Watch as everyone’s eyes light up when they take their first bite!
And there you have it—Mini Red Velvet Cheesecakes that will surely bring joy to any occasion! Enjoy every moment spent making—and eating—them!
Pro Tips for Making Mini Red Velvet Cheesecakes
Making mini red velvet cheesecakes can be a breeze with the right tips in your back pocket!
- Use Room Temperature Ingredients: Ensuring your cream cheese and egg are at room temperature allows for a smoother batter, resulting in a creamier texture without lumps.
- Don’t Overmix: Once you add the eggs, mix just until combined. Overmixing can incorporate too much air, leading to cracks as they bake and cool.
- Check for Doneness: The mini cheesecakes should look slightly jiggly in the center. They will firm up while cooling, so don’t overbake them to avoid dryness.
- Chill Before Serving: Allowing the cheesecakes to chill for at least two hours (or overnight) helps them set properly and enhances the overall flavor.
- Experiment with Flavors: While red velvet is delightful, feel free to add a touch of mint or almond extract for a unique twist on this classic recipe.
How to Serve Mini Red Velvet Cheesecakes
Presentation is key when it comes to these charming desserts! Here are some fun ideas to make your mini red velvet cheesecakes shine:
Garnishes
- Fresh Berries: A sprinkle of fresh raspberries or strawberries adds a pop of color and a tart contrast that complements the sweetness of the cheesecake beautifully.
- Chocolate Shavings: Lightly sprinkle chocolate shavings on top for an elegant touch and an extra layer of rich flavor that pairs perfectly with the chocolate cookie crust.
- Mint Leaves: A sprig of fresh mint not only brightens up your plate but also adds a refreshing aroma that enhances the dessert experience.
Side Dishes
- Fruit Salad: A light fruit salad made with seasonal fruits offers a refreshing balance to the richness of the cheesecakes and adds vibrant colors to your spread.
- Coffee or Tea: Pair these mini desserts with a warm cup of coffee or herbal tea. The warmth will enhance the flavors while providing a comforting end to any meal.
- Cheese Platter: A selection of mild cheeses alongside crackers can create a lovely contrast with the sweet cheesecakes, making for an interesting tasting experience.
- Vanilla Ice Cream: A scoop of vanilla ice cream served on the side creates a delightful creamy combination, perfect for those hot days when you want something extra special.
With these tips and serving suggestions, your Mini Red Velvet Cheesecakes will be nothing short of a show-stopper at any gathering! Happy baking!
Make Ahead and Storage
These Mini Red Velvet Cheesecakes are perfect for meal prep, making it easy to whip up a batch ahead of time for gatherings or sweet cravings.
Storing Leftovers
- Allow the cheesecakes to cool completely before storing.
- Place them in an airtight container to prevent drying out.
- Store in the refrigerator for up to 4 days.
Freezing
- Wrap each mini cheesecake individually in plastic wrap or aluminum foil.
- Place the wrapped cheesecakes in a freezer-safe container or bag.
- Freeze for up to 2 months. Thaw in the refrigerator before serving.
Reheating
- For best results, enjoy these cheesecakes chilled as they are meant to be served cold.
- If desired, you can bring them to room temperature by letting them sit out for about 30 minutes before serving.
FAQs
Here are some common questions about making Mini Red Velvet Cheesecakes.
Can I make Mini Red Velvet Cheesecakes without cream cheese?
While cream cheese is essential for the classic flavor and texture, you can experiment with dairy-free cream cheese alternatives if you’re looking for a non-dairy option.
How long do Mini Red Velvet Cheesecakes last?
If stored properly in the refrigerator, Mini Red Velvet Cheesecakes can last up to 4 days. They also freeze well for up to 2 months!
What can I use instead of red food coloring?
For a natural alternative, you can use beet juice or powdered beetroot for a vibrant color without synthetic dyes.
Are Mini Red Velvet Cheesecakes suitable for special occasions?
Absolutely! Their charming size and festive color make them perfect for birthdays, holidays, and any celebration where a little sweetness is needed.
Final Thoughts
I hope you enjoy making these delightful Mini Red Velvet Cheesecakes as much as I do! They bring joy not only through their taste but also in the memories created while baking and sharing them with loved ones. Whether you’re celebrating a special occasion or simply treating yourself, these mini delights are sure to bring smiles all around. Happy baking!
Mini Red Velvet Cheesecakes

Mini Red Velvet Cheesecakes are the perfect indulgence for any occasion, combining the rich flavors of red velvet with a creamy cheesecake filling. These delightful mini desserts are not only visually stunning with their vibrant color but also incredibly easy to prepare. Each bite delivers a melt-in-your-mouth experience that is sure to impress family and friends alike. Ideal for gatherings or simply as a sweet treat at home, these cheesecakes can be dressed up with your favorite toppings for an extra special touch. Once you try these charming little delights, they’re bound to become a household favorite!
- Prep Time: 20 minutes
- Cook Time: 25 minutes
- Total Time: 45 minutes
- Yield: Makes approximately 12 servings 1x
- Category: Dessert
- Method: Baking
- Cuisine: American
Ingredients
- 1 cup chocolate cookie crumbs
- 2 tablespoons granulated sugar
- 4 tablespoons melted unsalted butter
- 16 oz cream cheese, softened
- 1/2 cup granulated sugar
- 1 tablespoon unsweetened cocoa powder
- 1/4 cup sour cream
- 1 large egg
- 1 teaspoon vanilla extract
- 1 tablespoon red food coloring
- 1 tablespoon all-purpose flour
Instructions
- Preheat the oven to 325°F (160°C) and line a muffin tin with paper liners.
- In a bowl, combine chocolate cookie crumbs, sugar, and melted butter. Mix well.
- Divide crust mixture into muffin tins and press down firmly. Bake for 5 minutes.
- Beat softened cream cheese until smooth in a mixing bowl.
- Add sugar, cocoa powder, and flour; mix until combined. Then add sour cream, egg, vanilla extract, and red food coloring; blend until smooth.
- Fill each crust with cheesecake mixture and bake for 18–20 minutes until slightly jiggly in the center.
- Cool for 15 minutes in the pan before transferring to a wire rack to chill in the refrigerator for at least 2 hours.
Nutrition
- Serving Size: 1 mini cheesecake (50g)
- Calories: 175
- Sugar: 12g
- Sodium: 170mg
- Fat: 12g
- Saturated Fat: 7g
- Unsaturated Fat: 4g
- Trans Fat: 0g
- Carbohydrates: 15g
- Fiber: <1g
- Protein: 3g
- Cholesterol: 40mg