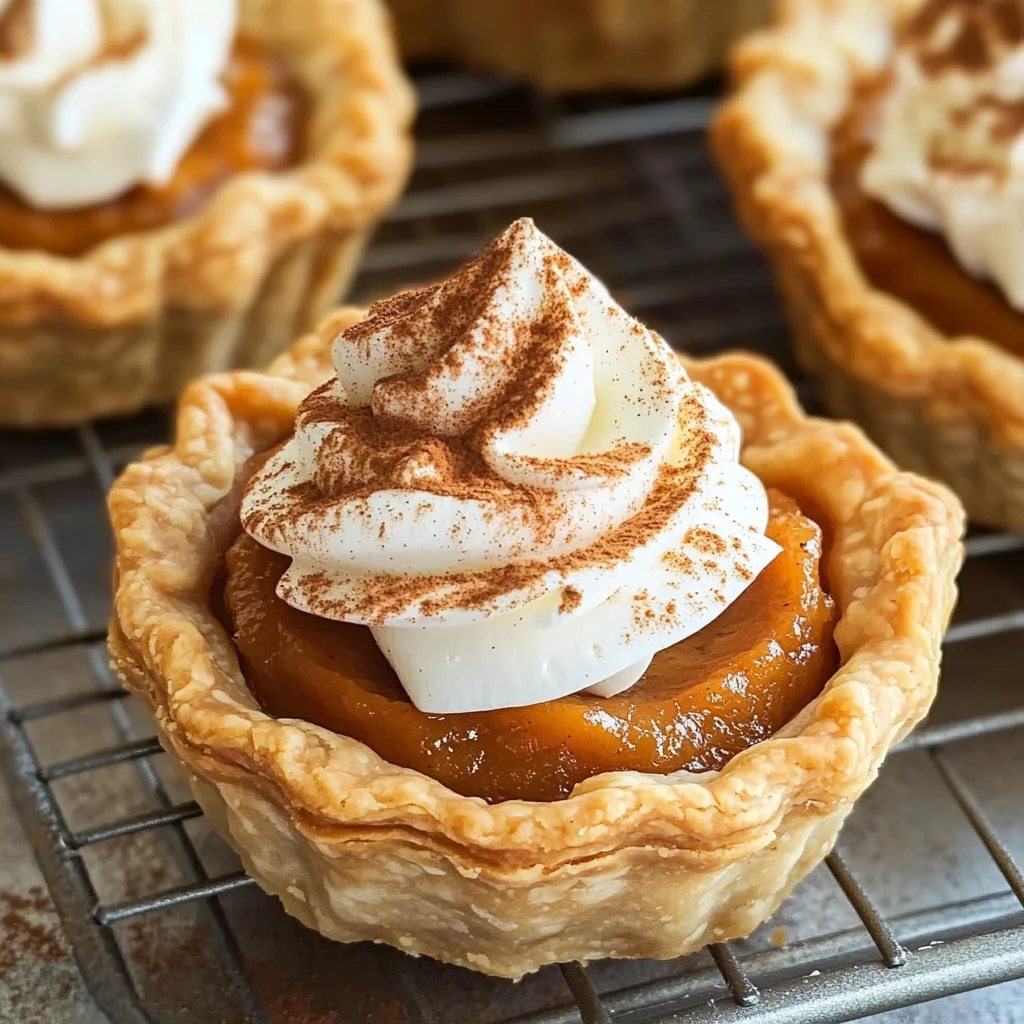
Mini Pumpkin Pies
If you’re looking for a delightful treat that captures the essence of fall, these Mini Pumpkin Pies are just what you need! They bring all the comforting flavors of traditional pumpkin pie into adorable, bite-sized portions. Perfect for any occasion—whether it’s a family gathering, a cozy night in, or even a festive Halloween party—these little pies are sure to be a hit!
What makes this recipe special is not just how easy it is to prepare but also how much joy it brings to those who enjoy them. There’s something magical about serving individual desserts that make everyone feel special. Plus, they’re great for sharing or keeping all to yourself!
Why You’ll Love This Recipe
- Quick and Easy: These Mini Pumpkin Pies come together in no time, making them perfect for busy bakers or last-minute gatherings.
- Family-Friendly: Everyone loves mini desserts! They’re fun to eat and perfect for kids and adults alike.
- Make-Ahead Convenience: You can prepare these ahead of time and chill them in the fridge until you’re ready to serve, freeing up your schedule.
- Delicious Flavor: With the warm spices and creamy pumpkin filling, every bite bursts with autumn goodness!
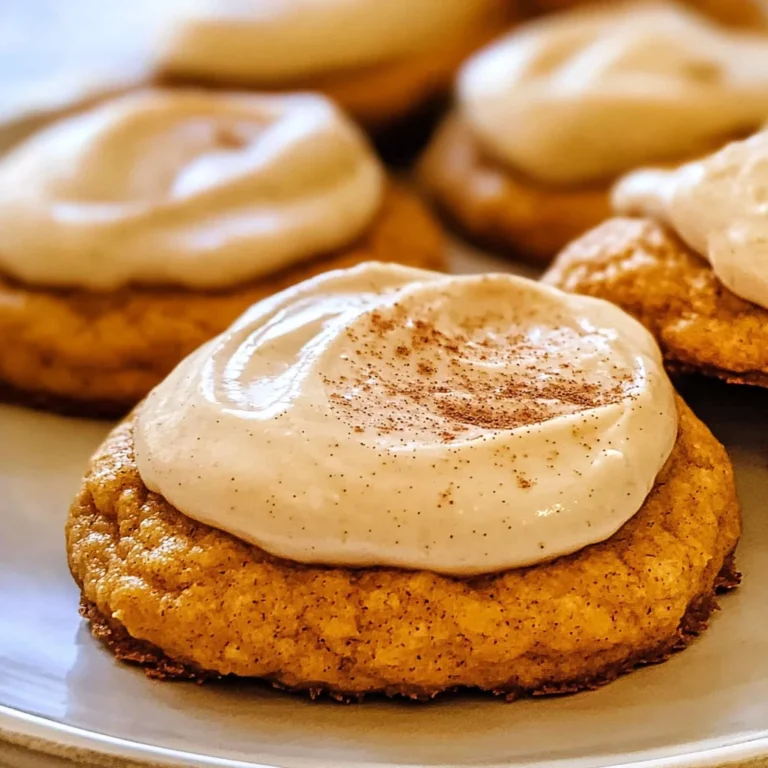
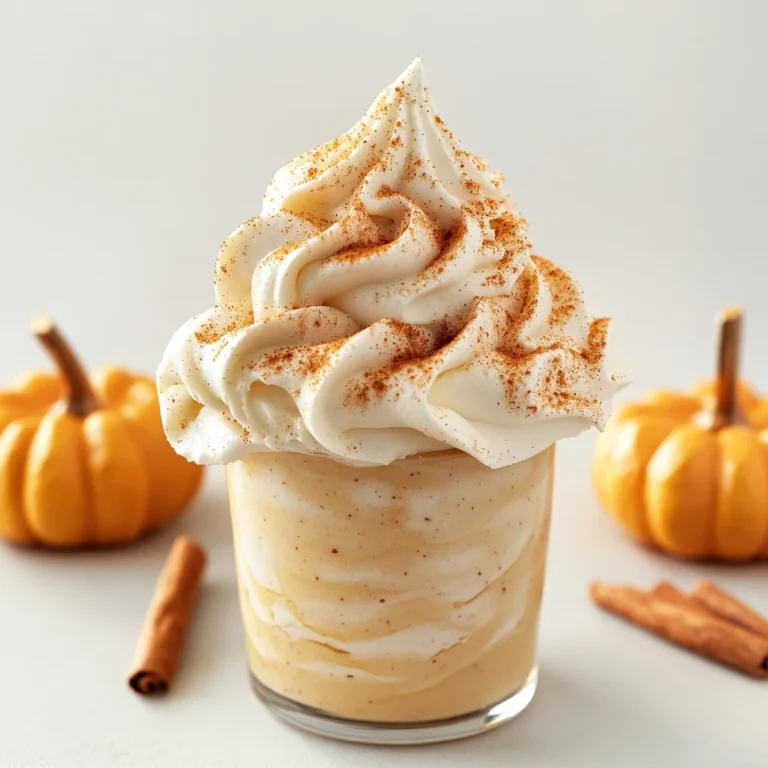
- Versatile Presentation: Serve them plain or top with homemade whipped cream for that extra special touch.
Ingredients You’ll Need
Let’s gather some simple, wholesome ingredients to whip up these delightful Mini Pumpkin Pies. You might already have most of these in your pantry!
For the Crust:
- 2 9-inch unbaked pie crusts (homemade or store-bought)
For the Filling:
- 1/3 cup brown sugar
- 2 tablespoons granulated sugar
- 1 1/2 teaspoons pumpkin pie spice
- 1/4 teaspoon salt
- 1 cup canned pumpkin puree (not pumpkin pie filling)
- 3/4 cup evaporated milk
- 1 large egg (lightly beaten)
- 1/2 teaspoon vanilla extract
For Topping:
- Homemade whipped cream (for topping)
Variations
This recipe is wonderfully flexible! Feel free to get creative with it to suit your taste preferences.
- Add a Twist: Mix in some chopped pecans or walnuts into the filling for added crunch and flavor.
- Spice it Up: If you love a bit more kick, try adding a dash of cayenne pepper or cinnamon to enhance the flavor further.
- Dairy-Free Option: Substitute evaporated milk with coconut milk for a delicious dairy-free version that still tastes amazing!
- Chocolate Drizzle: For a fun twist, drizzle some melted chocolate over the chilled pies before serving.
How to Make Mini Pumpkin Pies
Step 1: Preheat Your Oven
Start by preheating your oven to 400 degrees F. This step ensures that your pies bake evenly and reach that perfect golden-brown color.
Step 2: Prepare Your Pie Crusts
On a lightly floured surface, roll out your pie crusts to about 1/8-inch thickness. Using a 3 1/2-inch cookie cutter or a cup, cut out 18 circles from the dough. Don’t worry if you have some scraps; just re-roll them and keep cutting until you have enough.
Step 3: Fill the Muffin Pans
Place each circle of dough into the slots of two standard muffin pans. Gently press down on each one so that it fits snugly in each cavity. Pop the pans in the refrigerator while you mix up the filling—this helps keep the crust nice and flaky!
Step 4: Mix Your Filling
In a mixing bowl, whisk together brown sugar, granulated sugar, pumpkin pie spice, and salt until everything is nicely combined. Then add in your pumpkin puree, evaporated milk, egg, and vanilla extract. Whisk until smooth; this mixture is where all the deliciousness comes from!
Step 5: Fill Each Crust
Retrieve your muffin pans from the fridge. Carefully pour about two tablespoons of pumpkin filling into each pie crust. Be sure not to overfill; we want them full but not spilling over!
Step 6: Bake Away!
Bake your mini pumpkin pies in the preheated oven for about 16-20 minutes. Keep an eye on them; they should be set on top and lightly golden around the edges when they’re done.
Step 7: Cool Down
Once baked, take them out of the oven and let them cool on a wire rack for about 30 minutes. After cooling slightly, carefully remove each mini pie from the muffin pan and let them cool completely on the rack.
Step 8: Chill Out
After they’ve cooled completely, place them in an airtight container and transfer them to your refrigerator. Allowing them to chill for at least three hours (or overnight) helps enhance their flavor.
Step 9: Serve & Enjoy!
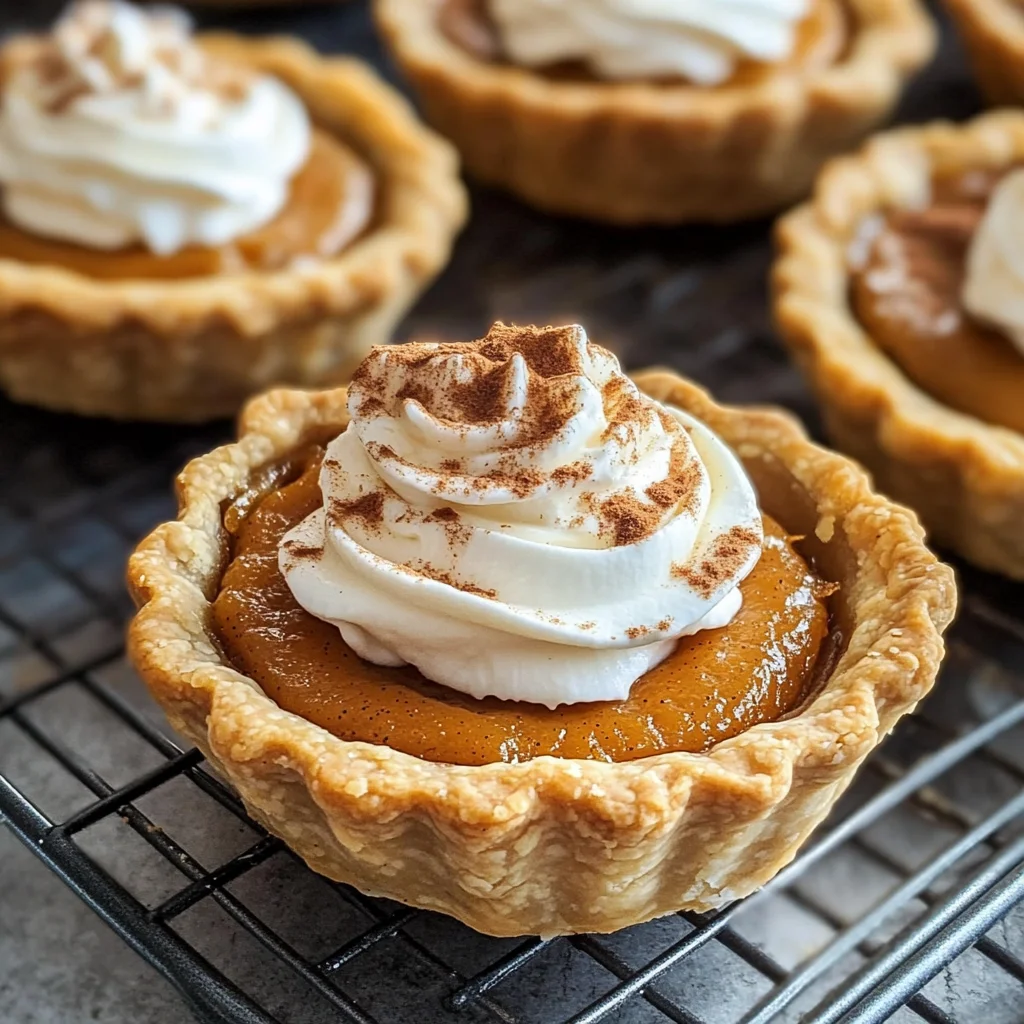
When you’re ready to serve these delightful treats, take them out of the fridge! They can be enjoyed chilled or at room temperature—either way is delicious! Add some homemade whipped cream on top if you’d like.
Now you’ve got yourself an irresistible batch of Mini Pumpkin Pies! Enjoy every bite!
Pro Tips for Making Mini Pumpkin Pies
Making these mini pumpkin pies is a delightful experience, and a few tips can elevate your baking game!
-
Chill Your Dough: Allowing the pie crust to chill before cutting ensures it holds its shape during baking, resulting in perfectly crisp edges.
-
Use Fresh Spices: Freshly ground spices can enhance the flavor of your mini pies significantly, making them taste more aromatic and flavorful compared to pre-ground varieties.
-
Watch the Bake Time: Ovens vary, so keep an eye on your pies as they bake. Remove them once the tops are set to prevent overbaking and maintain that soft, custardy filling.
-
Cool Completely: Allow your mini pumpkin pies to cool completely before storing. This helps set the filling and prevents soggy crusts when stored in an airtight container.
-
Experiment with Sweeteners: Feel free to swap out the sugars for alternatives like maple syrup or coconut sugar for a unique twist on sweetness without compromising flavor.
How to Serve Mini Pumpkin Pies
These mini pumpkin pies are not only adorable but also versatile when it comes to serving. Here are some creative ideas to present this delightful dessert at gatherings or cozy family dinners.
Garnishes
-
Whipped Coconut Cream: A dairy-free option that adds a light and airy texture while complementing the flavors of pumpkin beautifully.
-
Cinnamon Dusting: A simple sprinkle of cinnamon on top adds an extra layer of spice and warmth that enhances the overall taste of the pies.
Side Dishes
-
Spiced Apple Cider: This warm drink pairs perfectly with the fall flavors of pumpkin pie, creating a comforting combination that everyone will love.
-
Sweet Potato Mash: The natural sweetness and creaminess of sweet potatoes complement the mini pumpkin pies, providing a lovely contrast in dishes.
-
Roasted Brussels Sprouts: The savory crunchiness of roasted Brussels sprouts balances out the sweetness of the pies, making for a well-rounded meal experience.
-
Honeyed Carrots: Glazed carrots add a touch of sweetness while offering bright colors on your plate, enhancing both visual appeal and flavor harmony.
Enjoy your delightful mini pumpkin pies! They’re sure to be a hit at any gathering or as a cozy treat at home. Happy baking!
Make Ahead and Storage
These Mini Pumpkin Pies are perfect for meal prep, making them an excellent choice for gatherings or holiday feasts. You can easily whip up a batch ahead of time, allowing the flavors to meld and ensuring that your dessert is ready when you need it.
Storing Leftovers
- Store any leftover mini pumpkin pies in an airtight container.
- Keep them in the refrigerator for up to 3 days.
- To prevent sogginess, place a paper towel at the bottom of the container to absorb excess moisture.
Freezing
- If you want to freeze these pies, ensure they are completely cool before placing them in a freezer-safe container.
- Separate layers with parchment paper to avoid sticking.
- They can be frozen for up to 2 months. Thaw in the refrigerator overnight before serving.
Reheating
- To reheat, preheat your oven to 350 degrees F.
- Place the mini pumpkin pies on a baking sheet and warm for about 10-15 minutes until heated through.
- Alternatively, you can microwave each pie for about 15-30 seconds if you’re in a hurry.
FAQs
Here are some common questions about making Mini Pumpkin Pies:
Can I use fresh pumpkin instead of canned pumpkin puree?
Yes! You can use freshly cooked and pureed pumpkin instead of canned pumpkin puree. Just make sure it’s well-drained so your filling isn’t too watery.
How do I make Mini Pumpkin Pies gluten-free?
To make gluten-free Mini Pumpkin Pies, simply substitute regular pie crust with a gluten-free version. Many stores offer gluten-free pie crusts that work perfectly!
What is the best way to serve Mini Pumpkin Pies?
You can enjoy Mini Pumpkin Pies chilled or at room temperature. Top them with homemade whipped cream or serve plain—both options are delicious!
How long do Mini Pumpkin Pies last in the refrigerator?
Mini Pumpkin Pies will stay fresh in the refrigerator for up to 3 days when stored properly in an airtight container.
Final Thoughts
I hope this recipe for Mini Pumpkin Pies brings joy to your kitchen and deliciousness to your table! They’re not just adorable; they’re packed with all the cozy flavors of fall. Whether you’re sharing them at a gathering or indulging by yourself, these little treats are sure to delight. Enjoy making them and savor every bite!
Mini Pumpkin Pies

Indulge in the warmth of fall with these delightful Mini Pumpkin Pies. Perfectly sized for sharing or savoring alone, these bite-sized desserts encapsulate the cozy flavors of autumn in a simple and easy-to-make recipe. With a creamy pumpkin filling spiced just right, nestled within a flaky crust, each mini pie is a charming treat that will impress at any gathering—be it a family dinner, festive party, or casual night in. Plus, they can be made ahead of time, making them an ideal choice for busy bakers looking to spread joy without the stress.
- Prep Time: 20 minutes
- Cook Time: 20 minutes
- Total Time: 40 minutes
- Yield: Makes approximately 18 mini pies 1x
- Category: Dessert
- Method: Baking
- Cuisine: American
Ingredients
- 2 unbaked pie crusts
- 1/3 cup brown sugar
- 2 tablespoons granulated sugar
- 1 1/2 teaspoons pumpkin pie spice
- 1/4 teaspoon salt
- 1 cup canned pumpkin puree
- 3/4 cup evaporated milk
- 1 large egg (lightly beaten)
- 1/2 teaspoon vanilla extract
Instructions
- Preheat your oven to 400 degrees F.
- Roll out the pie crusts to about 1/8-inch thickness and cut out circles using a cookie cutter.
- Place each circle into muffin pan slots and refrigerate while preparing the filling.
- In a mixing bowl, whisk together sugars, spices, and salt; then add pumpkin puree, evaporated milk, egg, and vanilla until smooth.
- Pour filling into each crust until about two-thirds full.
- Bake for 16-20 minutes until set and lightly golden.
- Allow to cool on a wire rack before chilling in the refrigerator for at least three hours.
Nutrition
- Serving Size: 1 mini pie (40g)
- Calories: 120
- Sugar: 10g
- Sodium: 70mg
- Fat: 5g
- Saturated Fat: 2g
- Unsaturated Fat: 2g
- Trans Fat: 0g
- Carbohydrates: 17g
- Fiber: 1g
- Protein: 2g
- Cholesterol: 20mg