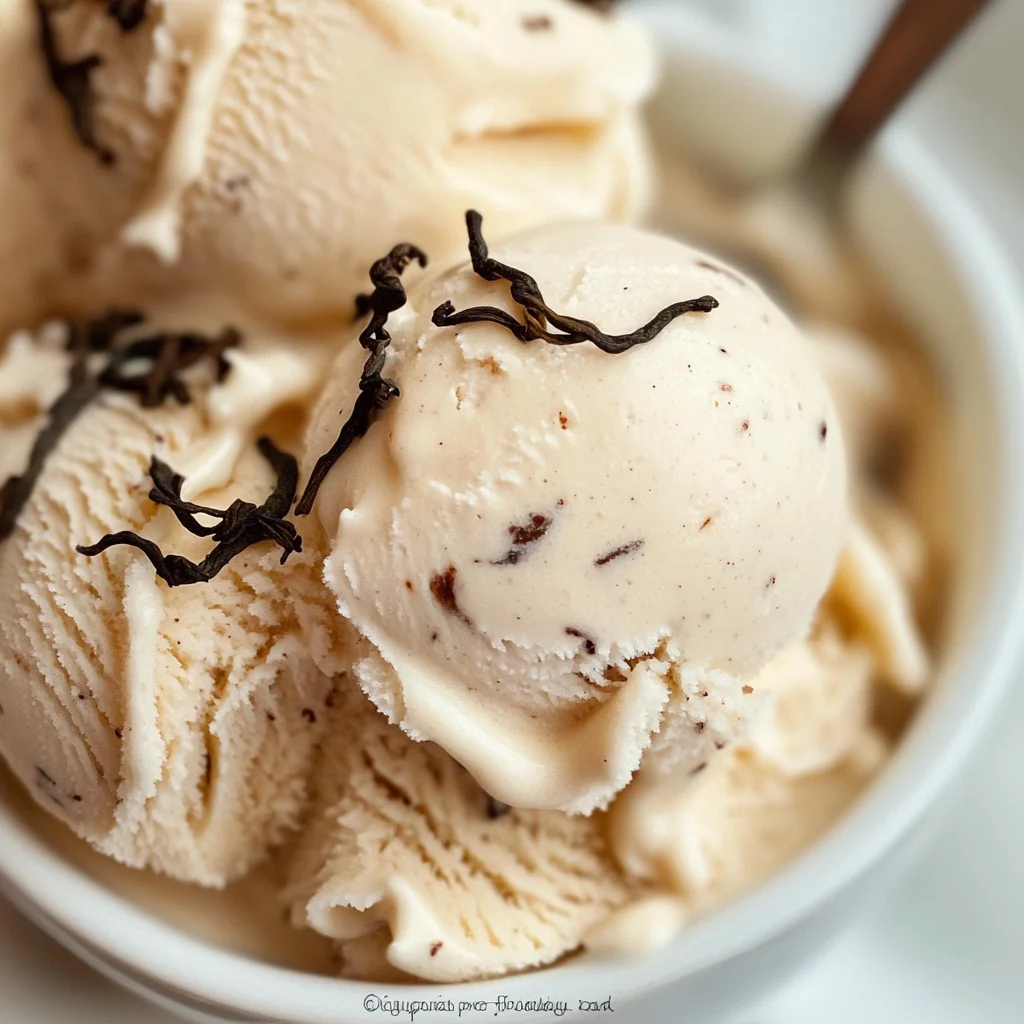
London Fog Ice Cream
If you’re looking for a delightful treat that combines the cozy essence of tea with the creamy bliss of ice cream, then this London Fog Ice Cream recipe is just what you need! Inspired by the beloved London Fog tea latte, this no-churn ice cream brings together the aromatic flavors of Earl Grey tea and velvety cream for an indulgent dessert experience. Whether it’s a busy weeknight or a family gathering, this ice cream is perfect for any occasion when you want to impress without the fuss.
I love how simple it is to whip up this London Fog Ice Cream, and I know it will quickly become a favorite in your home too. The rich flavor and creamy texture make it a standout dessert that everyone can enjoy!
Why You’ll Love This Recipe
- Easy to Make: This no-churn recipe means you don’t need an ice cream maker. Just mix and freeze!
- Family-Friendly: Kids and adults alike will fall in love with its unique flavor—perfect for sharing!
- Make Ahead: Prepare it in advance and keep it ready in your freezer for last-minute cravings or special occasions.
- Decadent Flavor: The blend of Earl Grey tea and vanilla creates a luxurious treat that feels indulgent yet comforting.
- Customizable: You can easily tweak the recipe to suit your taste preferences or dietary needs.

Ingredients You’ll Need
Making this London Fog Ice Cream requires just a few simple, wholesome ingredients. You’ll find everything you need right in your kitchen. Here’s what to gather:
For the Ice Cream Base
- 2 cups Heavy whipping cream (35%)
- 2 teaspoons Earl Grey tea
- 1 cup Sweetened condensed milk
- 1 teaspoon Vanilla extract
Variations
This London Fog Ice Cream recipe is wonderfully flexible, allowing you to get creative based on your preferences or what you have on hand. Here are some fun variations to try:
- Add Some Citrus: A splash of lemon or orange zest can brighten up the flavor profile.
- Swirl in Some Jam: Add a ribbon of your favorite fruit jam for a fruity twist.
- Mix in Chocolate Chips: Fold in some dairy-free chocolate chips for an extra layer of sweetness.
- Try Different Teas: Substitute Earl Grey with chai or green tea for unique flavor experiences.
How to Make London Fog Ice Cream
Step 1: Infuse the Cream
In a medium-sized saucepan over medium heat, combine the heavy whipping cream and loose Earl Grey tea. This step is crucial because it allows the tea to infuse its lovely flavors into the cream. Stir occasionally as the mixture comes to a simmer.
Step 2: Steep the Tea
Once simmering, remove the cream from heat and let it steep for two more minutes. This additional steeping time helps extract all those delicious flavors from the tea leaves, enhancing the overall taste of your ice cream.
Step 3: Strain and Chill
Carefully strain out the tea leaves from the cream mixture and discard them. Then, place the infused cream into a mason jar and refrigerate until completely chilled—about two hours. Chilling is essential; it ensures that your ice cream has that delightful creamy texture when frozen.
Step 4: Whip It Up
In a large bowl, beat the chilled heavy cream with an electric mixer until soft peaks form—this usually takes about 4-6 minutes. Whipping air into the cream makes it light and fluffy, giving your ice cream that perfect texture.
Step 5: Combine Ingredients
Gently fold in the sweetened condensed milk and vanilla extract using a spoon or spatula. This step is important because you want everything blended smoothly without deflating all that lovely whipped air you’ve just created!
Step 6: Freeze It
Pour your ice cream mixture into a freezer container and place it in the freezer for at least 4 hours—or until completely set. The waiting might be tough, but trust me, every moment will be worth it when you get to enjoy this creamy goodness!
Pro Tips for Making London Fog Ice Cream
Making ice cream at home can be a delightful experience, and with these handy tips, you’ll ensure your London Fog Ice Cream turns out perfectly every time!
-
Use Loose Leaf Tea: Loose leaf Earl Grey tea provides a richer flavor than bagged tea. It allows for a more robust infusion, giving your ice cream that authentic tea taste.
-
Chill Thoroughly: Make sure to chill the cream mixture completely before whipping. A well-chilled base will whip up better and create a creamier texture in the final ice cream.
-
Don’t Overbeat the Cream: While you want soft peaks, overbeating can lead to a grainy texture. Stop mixing as soon as you see peaks forming to maintain that smooth, velvety consistency.
-
Proper Freezing Time: Allow the ice cream to set for at least 4 hours in the freezer. This ensures it achieves the right firmness and scooping consistency.
-
Experiment with Flavors: Feel free to add other flavors or ingredients like lavender or lemon zest to enhance the Earl Grey notes. Just remember to keep it balanced so it complements rather than overwhelms.
How to Serve London Fog Ice Cream
Serving your homemade London Fog Ice Cream can be just as enjoyable as making it! Here are some creative ways to present this delightful treat:
Garnishes
- Whipped Coconut Cream: A dollop of whipped coconut cream adds an airy touch and enhances the creamy texture.
- Lemon Zest: A sprinkle of fresh lemon zest on top brightens up the flavor profile and adds a pop of color.
- Chocolate Shavings: A few dark chocolate shavings provide a rich contrast that pairs beautifully with the tea flavors.
Side Dishes
- Shortbread Cookies: These buttery cookies complement the creamy texture of the ice cream perfectly and are great for dipping!
- Fresh Berries: Strawberries or blueberries add a refreshing tartness that balances the sweetness of the ice cream.
- Scones: Traditional scones bring a lovely British flair, making them a fitting accompaniment for an Earl Grey-inspired dessert.
- Fruit Salad: A light fruit salad with seasonal fruits adds freshness and makes for a colorful, healthy side dish that pairs well with rich ice cream.
Enjoy creating and serving your delicious London Fog Ice Cream! Whether on its own or paired with delightful sides and garnishes, this treat is sure to impress friends and family alike.
Make Ahead and Storage
This London Fog Ice Cream is not just a delightful treat, but it’s also perfect for meal prep! You can easily make it ahead of time and store it for those warm days when you crave something sweet. Here are some tips for storing and enjoying your ice cream.
Storing Leftovers
- Keep any leftover ice cream in an airtight container to prevent freezer burn.
- For best results, consume within two weeks for optimal flavor and texture.
- Scoop out portions with a warm spoon to make serving easier.
Freezing
- If you need to store the ice cream for a longer period, ensure it’s tightly sealed in its container.
- Avoid storing it near the front of the freezer where temperature fluctuations may occur.
- If the ice cream hardens too much, let it sit at room temperature for a few minutes before scooping.
Reheating
- This recipe doesn’t require reheating since it’s served frozen.
- If you want to soften the ice cream before serving, simply leave it out at room temperature for about 5-10 minutes.
FAQs
Here are some frequently asked questions about this delicious London Fog Ice Cream recipe!
Can I use other types of tea for this London Fog Ice Cream?
Absolutely! While Earl Grey tea gives this ice cream its signature flavor, you can experiment with other flavored teas like chai or lavender for a unique twist.
How long does London Fog Ice Cream last in the freezer?
When stored properly in an airtight container, London Fog Ice Cream can last up to two weeks in the freezer. However, we recommend enjoying it sooner to savor its best taste and texture!
Is there a dairy-free option for London Fog Ice Cream?
Yes! You can substitute heavy whipping cream with coconut cream or cashew cream and use dairy-free sweetened condensed milk to create a delicious dairy-free version.
What can I serve with my London Fog Ice Cream?
This delightful ice cream pairs well with fresh berries, cookies, or even as a topping on warm desserts like brownies or cakes!
Can I make this recipe without sweetened condensed milk?
While sweetened condensed milk adds sweetness and creaminess, you could try using a combination of coconut milk and maple syrup as an alternative. Just keep in mind that it might change the texture slightly.
Final Thoughts
I hope you enjoy making this creamy and luxurious London Fog Ice Cream as much as I do! It’s a special treat that’s perfect for any occasion—or even just a cozy night in. Remember, there’s nothing quite like indulging in a homemade dessert that brings joy with each scoop. Happy freezing, and don’t forget to share your creations!
London Fog Ice Cream

Enjoy creamy homemade London Fog Ice Cream infused with Earl Grey tea. Perfectly sweet and easy to make—try this delightful treat today!
- Prep Time: 15 minutes
- Cook Time: 5 minutes
- Total Time: 20 minutes
- Yield: Approximately 4 servings 1x
- Category: Dessert
- Method: No-Churn
- Cuisine: British
Ingredients
- 2 cups heavy whipping cream (35%)
- 2 teaspoons Earl Grey tea
- 1 cup sweetened condensed milk
- 1 teaspoon vanilla extract
Instructions
- In a medium saucepan over medium heat, combine heavy whipping cream and loose Earl Grey tea. Stir occasionally until it simmers.
- Remove from heat and let steep for 2 minutes to infuse flavor.
- Strain out tea leaves, refrigerate the infused cream until chilled (about 2 hours).
- Beat the chilled cream with an electric mixer until soft peaks form (4-6 minutes).
- Gently fold in sweetened condensed milk and vanilla extract until smooth.
- Pour mixture into a freezer container and freeze for at least 4 hours or until set.
Nutrition
- Serving Size: 1/2 cup (125g)
- Calories: 380
- Sugar: 28g
- Sodium: 40mg
- Fat: 30g
- Saturated Fat: 18g
- Unsaturated Fat: 12g
- Trans Fat: 0g
- Carbohydrates: 31g
- Fiber: 0g
- Protein: 3g
- Cholesterol: 100mg