Easy Homemade Pie Crust
If you’re looking for the perfect base for your favorite pies, this Easy Homemade Pie Crust will become your go-to recipe. There’s something truly special about making your own crust from scratch. Not only is it simple, but it also brings a comforting warmth to family gatherings and holiday celebrations. Imagine slicing into a fresh pie with flaky, buttery crust that you made yourself! This recipe is perfect for busy weeknights or those cozy evenings when you want to impress loved ones with a homemade dessert.
Whether you’re whipping up a classic apple pie, a rich pumpkin pie, or just want to have the best crust for any filling, this Easy Homemade Pie Crust is here to elevate your baking game!
Why You’ll Love This Recipe
- Simple to make: With just a handful of ingredients, you can create a delicious pie crust in no time.
- Family-friendly: Everyone loves homemade pie! Get the kids involved in rolling out the dough and shaping their own creations.
- Make-ahead convenience: Prepare the dough in advance and chill it until you’re ready to bake. It’s perfect for planning ahead!
- Delicious flavor: A homemade crust adds a delightful flavor that store-bought options just can’t match.
- Versatile uses: This crust works beautifully with sweet or savory fillings, making it ideal for any occasion.
Ingredients You’ll Need
Making this Easy Homemade Pie Crust requires some simple, wholesome ingredients that you might already have on hand. Let’s take a look at what you need to get started!
Ingredients:
– 2 1/2 cups all-purpose flour
– 1/2 teaspoon salt
– 3/4 cup cold unsalted butter (cubed)
– 1 teaspoon apple cider vinegar
– 1/2 cup ice-cold water
Variations
One of the best things about this Easy Homemade Pie Crust recipe is its flexibility. You can easily adapt it to fit your taste or dietary needs. Here are some fun variations to try:
- Add herbs: For a savory twist, mix in some dried herbs like thyme or rosemary.
- Use whole wheat flour: Substitute half of the all-purpose flour with whole wheat flour for a heartier crust.
- Try different fats: Swap out butter for coconut oil or vegetable shortening if you prefer a dairy-free option.
- Sweeten it up: For dessert pies, add a tablespoon of sugar into the flour mixture for a touch of sweetness.
How to Make Easy Homemade Pie Crust
Step 1: Blend Dry Ingredients and Butter
Start by mixing the flour and salt in a large mixing bowl. This step ensures that the salt is evenly distributed throughout the dough. Then, add the cold cubed butter. Use pastry blenders or your fingers to blend until the mixture resembles coarse crumbs. This is crucial because it creates those lovely flaky layers in your final crust!
Step 2: Make Pastry
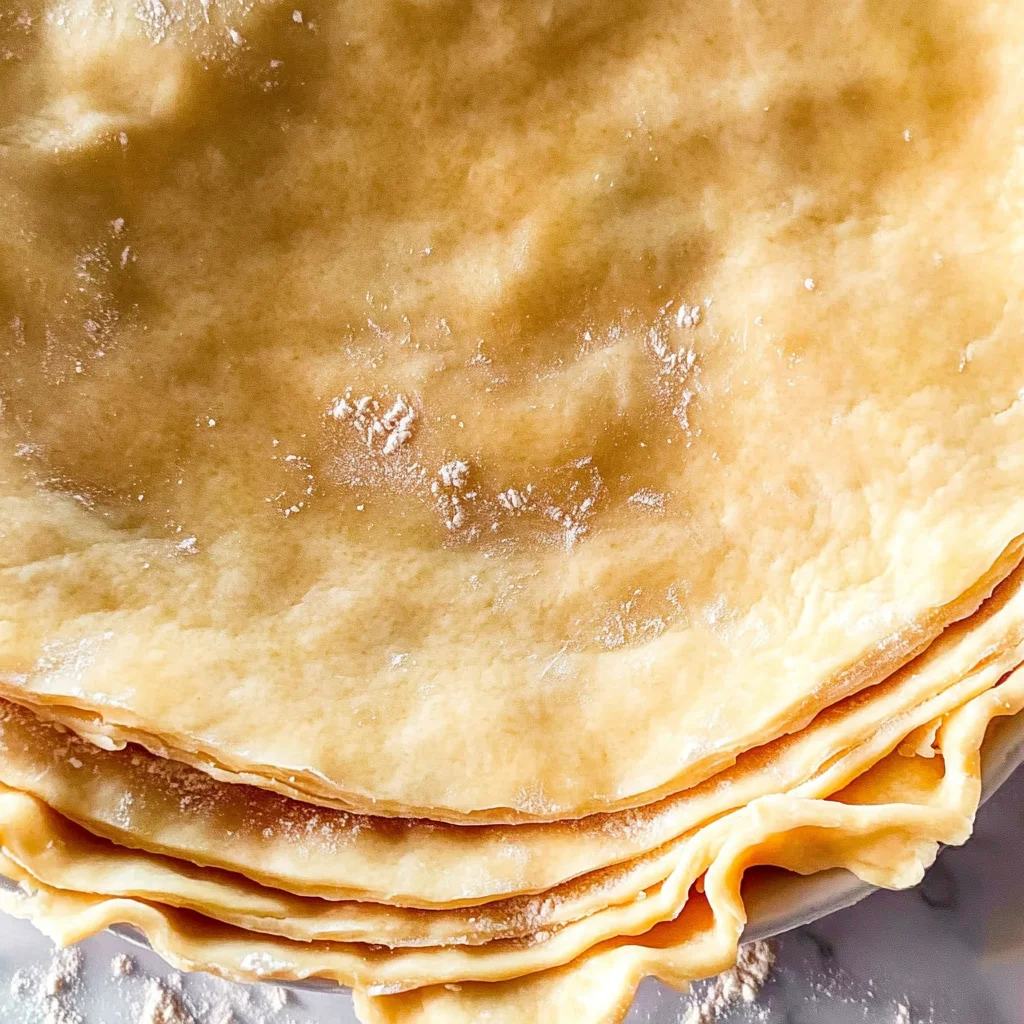
In a measuring jug, mix together the apple cider vinegar and ice-cold water. Slowly pour this mixture over your dry ingredients while stirring gently. Just mix until everything comes together into a dough—no need to knead! Push the dough into a ball, divide it into two disks, wrap them in foil, and chill them in the fridge for an hour. Chilling helps prevent shrinkage during baking!
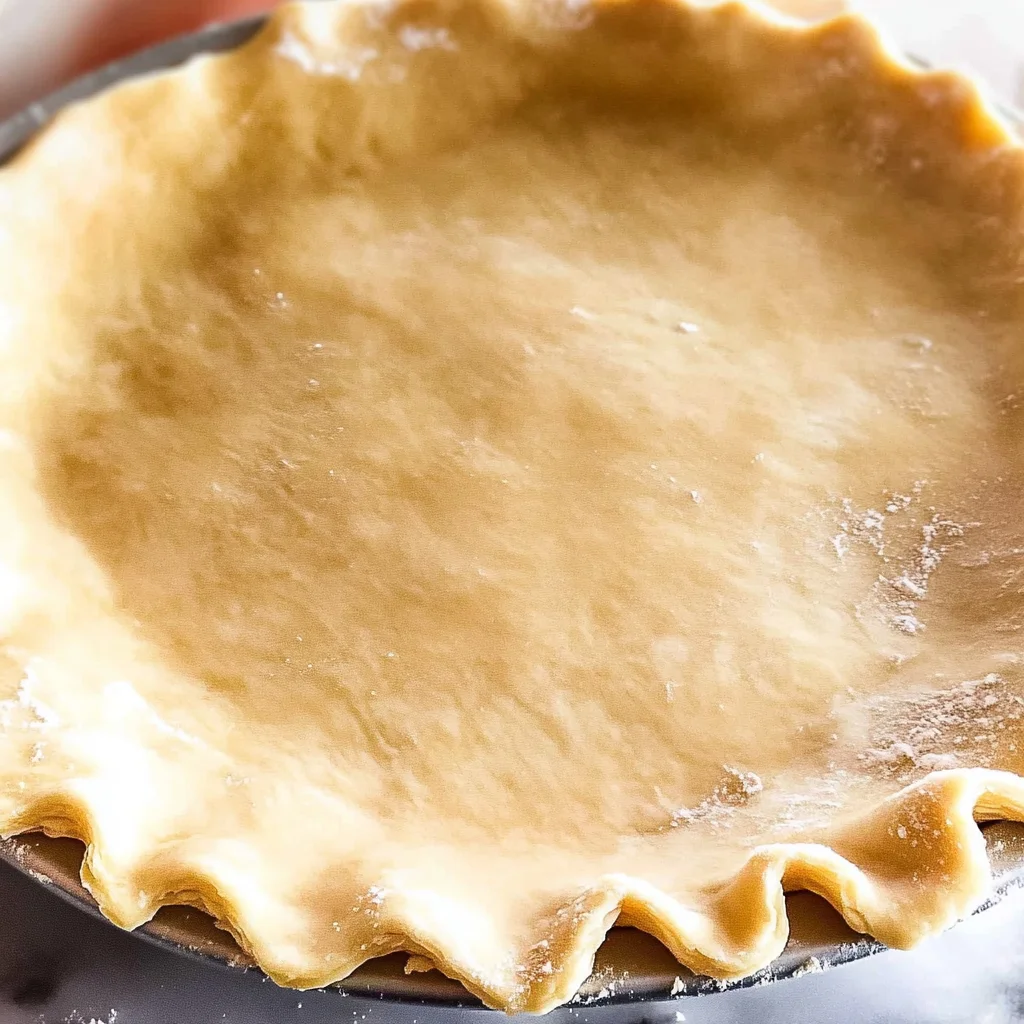
Step 3: Roll Out Crust
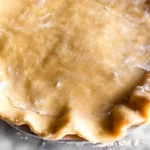
Once your dough has chilled, take one disk out and place it between two sheets of baking parchment. Roll it out into a circle slightly larger than your 9-inch pie dish. This method helps prevent sticking and makes transferring easier! Fit the rolled-out crust into your lightly greased pie dish and pop it back into the fridge to chill again while you prepare your filling. If you’re making a double-crust pie, roll out the second disk similarly and chill between parchment sheets until ready to use.
Now you’re ready to fill this beautiful crust with your favorite filling! Enjoy every bite of deliciousness that comes from your hard work!
Pro Tips for Making Easy Homemade Pie Crust
Making pie crust from scratch is a delightful experience, and with these tips, you’ll master it in no time!
- Use cold ingredients: Keeping your butter and water cold helps prevent the fats from melting too quickly, resulting in a flaky crust that’s just perfect for your pies.
- Don’t overmix the dough: Mixing until just combined ensures your crust remains tender. Overworking can lead to a tough texture, which we want to avoid!
- Chill the dough: Allowing the dough to chill for at least an hour helps it relax and prevents shrinking during baking. A chilled crust holds its shape better!
- Roll between parchment paper: This method makes rolling out your dough much easier and mess-free. Plus, it helps prevent sticking, so you can easily lift your crust into the pie dish.
- Experiment with flavors: For a unique twist, consider adding spices like cinnamon or nutmeg to the flour mixture, or even some zest from citrus fruits. This will add depth and enhance the flavor of your pie!
How to Serve Easy Homemade Pie Crust
Once you’ve crafted this delightful pie crust, it’s time to think about how to present it! The possibilities are endless when it comes to filling and serving.
Garnishes
- Fresh whipped cream: A dollop of lightly sweetened whipped cream adds a creamy texture that complements any pie beautifully.
- Cinnamon sugar sprinkle: Dusting a little cinnamon sugar on top of your pie before serving not only looks lovely but also adds a warm spice that’s irresistible.
- Chocolate shavings: For an elegant touch, consider topping your pie with delicate chocolate shavings or curls, giving it a rich finish.
Side Dishes
- Vanilla ice cream: A classic pairing with warm fruit pies; its creaminess balances the tartness of fillings like apple or cherry, making each bite heavenly.
- Caramel sauce: Drizzling caramel sauce over the pie adds a sweet richness that enhances flavors, especially in nut-based pies like pecan.
- Fruit salad: A refreshing side of seasonal fruits provides a light contrast to rich pies. The natural sweetness complements the dessert while keeping things vibrant and fresh.
- Coffee or tea: Offering a warm beverage alongside your pie is perfect for gatherings. It creates a cozy atmosphere and enhances the overall experience of enjoying dessert.
With these tips and serving suggestions, you’ll be well on your way to impressing family and friends with your homemade pies! Enjoy every delicious bite!
Make Ahead and Storage
This easy homemade pie crust is perfect for meal prep! You can make it ahead of time and store it, ensuring you have the perfect base ready for any pie filling you desire. Here’s how to keep your crust fresh and ready to use.
Storing Leftovers
- Wrap any unused pie crust tightly in plastic wrap or foil.
- Store it in the refrigerator for up to 3 days.
- If you have already baked a pie with the crust, cover it with plastic wrap or a pie keeper at room temperature for 1-2 days.
Freezing
- To freeze the dough, wrap each disk in plastic wrap and then place in a freezer bag.
- Label the bag with the date and type of dough.
- Freeze for up to 3 months.
- When ready to use, transfer the frozen dough to the refrigerator overnight to thaw.
Reheating
- If you have a pre-baked crust, reheat it in a 350°F (175°C) oven for about 10-15 minutes until warmed through.
- For best results, place a piece of aluminum foil over the edges if they start to brown too quickly.
FAQs
Here are some common questions about making an easy homemade pie crust!
Can I make this easy homemade pie crust dairy-free?
Absolutely! You can replace the cold unsalted butter with dairy-free margarine or coconut oil, achieving similar flaky results.
How do I know if my easy homemade pie crust is too dry?
If your dough feels crumbly and doesn’t hold together when pressed, it may need more moisture. Add ice-cold water one tablespoon at a time until it comes together.
How long will my easy homemade pie crust last in the fridge?
Your dough can last up to 3 days in the refrigerator when properly wrapped. Just make sure to check for any off smells before using!
Can I use this easy homemade pie crust recipe for savory pies?
Yes! This versatile pie crust works wonderfully for both sweet and savory pies. Feel free to experiment with fillings!
What is the best way to roll out my easy homemade pie crust?
Using parchment paper helps prevent sticking. Roll your dough evenly from the center outward, turning frequently for an even thickness.
Final Thoughts
I hope you find joy in making this easy homemade pie crust! It truly is a delightful base that elevates any pie you create. With just a few simple ingredients and some love, you’ll be on your way to impressing friends and family with your delicious desserts. Enjoy every moment of baking, and don’t forget to share your creations!
Easy Homemade Pie Crust
Create flaky perfection with this Easy Homemade Pie Crust recipe. With just a handful of simple ingredients, you can whip up a delightful crust that elevates any pie to a new level of deliciousness. Imagine serving your family and friends a beautifully crafted pie with a golden, buttery shell that’s made from scratch! This versatile pie crust is perfect for both sweet and savory fillings, making it an essential recipe for every home baker. Whether it’s a classic apple pie or a rich pumpkin tart, this crust will impress everyone at your table. Plus, it’s easy enough for the kids to join in the fun, creating memories while baking!
- Prep Time: 15 minutes
- Cook Time: N/A
- Total Time: 0 hours
- Yield: About 8 servings 1x
- Category: Dessert
- Method: Baking
- Cuisine: Homemade
Ingredients
- 2 1/2 cups all-purpose flour
- 1/2 teaspoon salt
- 3/4 cup cold unsalted butter (cubed)
- 1 teaspoon apple cider vinegar
- 1/2 cup ice-cold water
Instructions
- In a large mixing bowl, combine the flour and salt. Add the cold cubed butter and blend until the mixture resembles coarse crumbs.
- In a measuring jug, mix together the apple cider vinegar and ice-cold water. Slowly pour this over the dry ingredients while stirring gently until just combined.
- Form the dough into a ball, divide it into two disks, wrap in foil, and chill in the fridge for one hour.
- Roll out one disk between two sheets of parchment paper into a circle larger than your 9-inch pie dish. Fit it into the dish and chill again while preparing your filling.
Nutrition
- Serving Size: 1 slice (50g)
- Calories: 200
- Sugar: 0g
- Sodium: 115mg
- Fat: 12g
- Saturated Fat: 7g
- Unsaturated Fat: 5g
- Trans Fat: 0g
- Carbohydrates: 22g
- Fiber: 1g
- Protein: 3g
- Cholesterol: 20mg