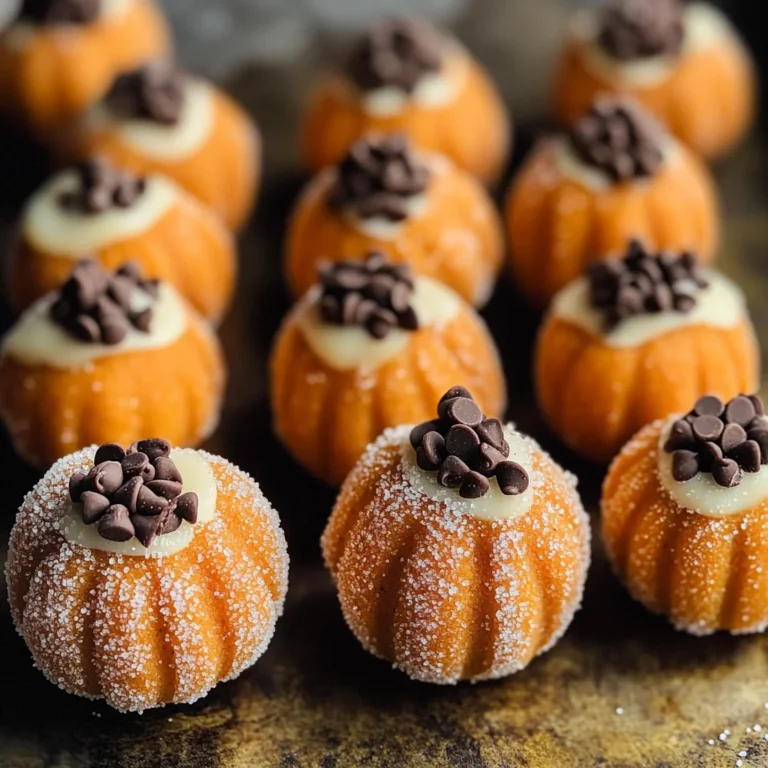
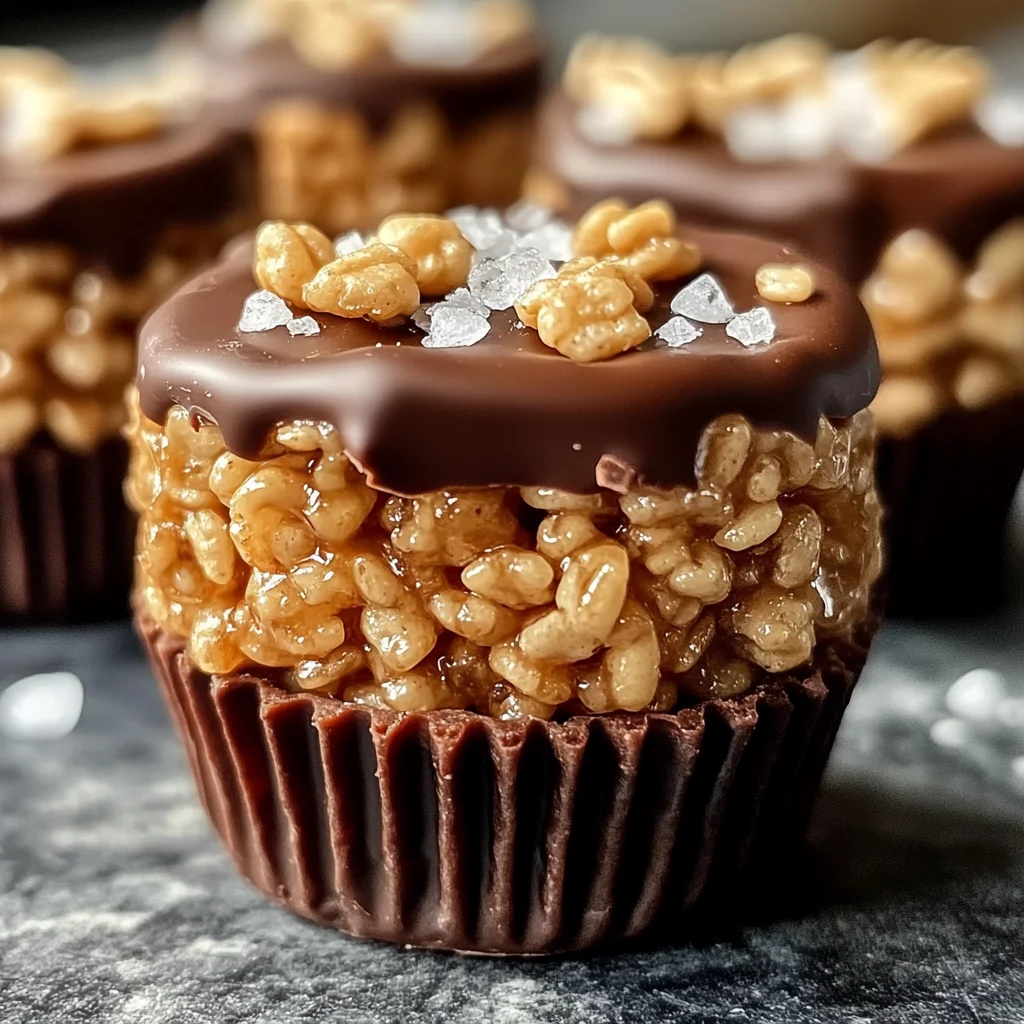
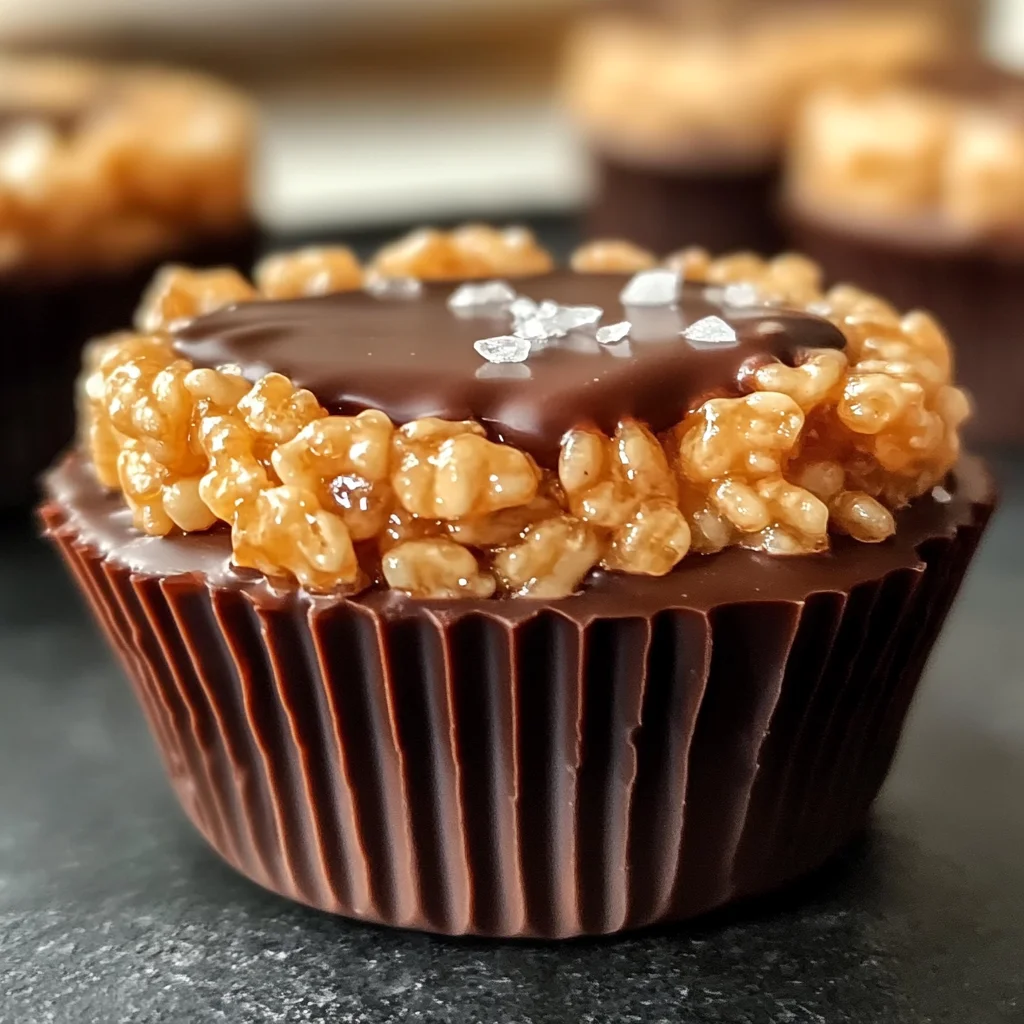
Chocolate Peanut Butter Rice Krispie Cups
If you’re looking for an easy and delightful treat that brings smiles to faces, these Chocolate Peanut Butter Rice Krispie Cups are just the ticket! This recipe holds a special place in my heart because it combines my two favorite flavors—chocolate and peanut butter—in such a fun and crunchy way. Imagine popping one of these delicious cups into your mouth, only to be greeted with that perfect blend of creamy peanut butter and rich chocolate goodness!
These cups are fantastic for all kinds of occasions. Whether you need a quick snack on busy weeknights, a sweet surprise for family gatherings, or even a fun dessert to take to parties, this recipe has got you covered. Trust me—everyone will be reaching for seconds!
Why You’ll Love This Recipe
- Super Simple: No baking required! You can whip up these cups in just 20 minutes.
- Family-Friendly: Kids love the fun shape and delicious taste. They’re perfect for little hands!
- Make Ahead: These cups store well in the fridge, making them an excellent option for meal prep.
- Customizable: Feel free to mix in your favorite add-ins or toppings for a personal touch.
- Irresistibly Delicious: The combination of chocolate and peanut butter is truly timeless and loved by all.
Ingredients You’ll Need
Gathering ingredients for this recipe is a breeze! You’ll find that they are simple, wholesome items that you might already have in your pantry. Here’s what you’ll need to create these delightful Chocolate Peanut Butter Rice Krispie Cups:
- 3 cups Rice Krispies cereal
- 1 cup creamy peanut butter
- 1/2 cup unsalted butter
- 1 cup mini vegan marshmallows
- 1 cup chocolate chips
- 1/2 tsp vanilla extract (optional)
- Pinch of sea salt (optional)
Variations
One of the best things about this recipe is its flexibility. You can easily tweak it to fit your taste preferences or dietary needs. Here are some fun ideas:
- Add Some Crunch: Mix in some chopped nuts or seeds for an extra texture boost.
- Go Dairy-Free: Use dairy-free chocolate chips to make this treat suitable for vegan diets.
- Flavor It Up: Experiment with flavored nut butters like almond or cashew for a twist!
- Top It Off: Drizzle some melted nut butter or sprinkle crushed cookies on top before serving.
How to Make Chocolate Peanut Butter Rice Krispie Cups
Step 1: Melt the Base
In a medium saucepan over low heat, melt the unsalted butter along with mini vegan marshmallows while stirring consistently until smooth. This step is crucial because it forms the gooey base that will hold everything together.
Step 2: Add Peanut Butter
Stir in the creamy peanut butter and optional vanilla extract until fully combined and creamy. The warmth from the melted mixture helps the peanut butter blend seamlessly, creating a luscious filling.
Step 3: Mix with Cereal
Pour the Rice Krispies into a large bowl and add the peanut butter mixture. Gently fold until all the cereal is coated evenly. Be careful not to crush the cereal; we want those crispy bits intact!
Step 4: Shape the Cups
Line a muffin tin with paper liners. Spoon the mixture evenly into each cup and press down gently to form a flat surface. This helps create those beautiful shapes that will hold up once set.
Step 5: Add Chocolate Layer
Melt chocolate chips in the microwave using 20-second intervals, stirring in between until smooth. Spoon melted chocolate over each cup and spread evenly. If desired, sprinkle with sea salt for an added flavor contrast.
Step 6: Set & Serve
Allow the cups to cool at room temperature for about 20 minutes or place them in the refrigerator to set faster. Once firm, remove them from their liners and serve! Enjoy every last bite of these delightful Chocolate Peanut Butter Rice Krispie Cups!
Pro Tips for Making Chocolate Peanut Butter Rice Krispie Cups
Creating these delightful treats is a breeze, but a few helpful tips can make your experience even better!
-
Use Fresh Ingredients: Ensure your Rice Krispies and chocolate chips are fresh for the best texture and flavor. Stale ingredients can lead to a less enjoyable treat.
-
Don’t Overheat the Mixture: When melting the butter and marshmallows, keep the heat low and stir constantly. This helps prevent burning and ensures a smooth, creamy base.
-
Press Firmly: When shaping the cups in the muffin tin, press down firmly but gently to create a solid base. This helps the cups hold their shape once set.
-
Experiment with Toppings: Feel free to get creative with toppings! Chopped nuts, shredded coconut, or a drizzle of nut butter can add unique flavors and textures.
-
Store Properly: Keep any leftovers in an airtight container at room temperature for up to a week. For longer storage, refrigerate them to maintain freshness.
How to Serve Chocolate Peanut Butter Rice Krispie Cups
Presenting your Chocolate Peanut Butter Rice Krispie Cups in an enticing way can make them even more irresistible! Here are some fun ideas to elevate your serving game.
Garnishes
- Chopped Peanuts: Sprinkle chopped peanuts on top of each cup for added crunch and a burst of flavor.
- Cocoa Powder Dust: Lightly dust cocoa powder over the chocolate layer for a sophisticated touch that enhances the chocolate flavor.
- Drizzle of Nut Butter: A drizzle of additional peanut or almond butter adds richness and makes your cups look extra indulgent.
Side Dishes
- Fresh Fruit Salad: A refreshing fruit salad complements the sweetness of the cups perfectly. Consider using seasonal fruits like berries, melon, or citrus for brightness.
- Veggie Sticks with Hummus: Crisp vegetable sticks paired with hummus offer a savory contrast that balances the sweetness of your treats.
- Homemade Granola: Serve your Rice Krispie Cups alongside a bowl of crunchy granola. The textures work beautifully together!
- Yogurt Parfait: Layer yogurt with fruit and granola in small glasses for a delightful side that pairs well with dessert while adding a nutritious twist.
Enjoy these tips and ideas as you whip up your own batch of Chocolate Peanut Butter Rice Krispie Cups! Each bite promises happiness wrapped in chocolatey goodness.
Make Ahead and Storage
These Chocolate Peanut Butter Rice Krispie Cups are not only a delightful treat but also perfect for meal prep! You can whip up a batch in advance, making them a convenient snack to grab on busy days or to satisfy unexpected sweet cravings.
Storing Leftovers
- Store the cups in an airtight container at room temperature for up to 5 days.
- If your kitchen is particularly warm, consider refrigerating them for optimal freshness.
Freezing
- Place the cups in a single layer on a baking sheet and freeze until solid.
- Transfer the frozen cups to a freezer-safe container, separating layers with parchment paper to prevent sticking.
- They can be kept frozen for up to 3 months. Thaw in the refrigerator before enjoying!
Reheating
- These treats are best enjoyed chilled or at room temperature, so there’s no need for reheating.
- If you prefer them slightly warm, microwave for about 5-10 seconds just until they soften a bit, but be careful not to melt the chocolate.
FAQs
Here are some common questions about making Chocolate Peanut Butter Rice Krispie Cups:
Can I use crunchy peanut butter instead of creamy?
Absolutely! Crunchy peanut butter will add an enjoyable texture to your Chocolate Peanut Butter Rice Krispie Cups. Just make sure it’s well-mixed!
How long do Chocolate Peanut Butter Rice Krispie Cups last?
When stored properly, these delicious cups can last up to 5 days at room temperature and up to 3 months if frozen. Enjoy them fresh or save some for later!
Can I use regular marshmallows instead of vegan marshmallows?
Yes, you can substitute regular marshmallows if you prefer. The steps remain the same, and they will still be wonderfully tasty!
Final Thoughts
I hope you find great joy in making these Chocolate Peanut Butter Rice Krispie Cups! They’re not only super easy but also incredibly satisfying with their combination of flavors and textures. Whether you’re preparing them for a special occasion or simply treating yourself, I’m sure they’ll become a favorite in your home. Enjoy the process and happy snacking!
Chocolate Peanut Butter Rice Krispie Cups

Indulge in the delightful world of Chocolate Peanut Butter Rice Krispie Cups! These no-bake treats combine the irresistible flavors of creamy peanut butter and rich chocolate, creating a perfect snack for any occasion. Whether you need a quick pick-me-up after a busy day or a sweet surprise for gatherings, these cups are sure to please everyone. They come together in just 20 minutes, making them an ideal choice for families or anyone looking for a simple dessert. With their crunchy texture and luscious filling, each bite promises happiness wrapped in chocolatey goodness. Give these easy-to-make cups a try, and watch them disappear!
- Prep Time: 10 minutes
- Cook Time: 10 minutes
- Total Time: 20 minutes
- Yield: About 12 servings 1x
- Category: Dessert
- Method: No-bake
- Cuisine: American
Ingredients
- 3 cups Rice Krispies cereal
- 1 cup creamy peanut butter
- 1/2 cup unsalted butter
- 1 cup mini vegan marshmallows
- 1 cup chocolate chips
- 1/2 tsp vanilla extract (optional)
- Pinch of sea salt (optional)
Instructions
- In a medium saucepan over low heat, melt the unsalted butter and mini vegan marshmallows until smooth.
- Stir in the creamy peanut butter and optional vanilla extract until well combined.
- Pour the Rice Krispies into a large bowl and fold in the peanut butter mixture until evenly coated.
- Line a muffin tin with paper liners and spoon the mixture into each cup, pressing down gently to shape.
- Melt chocolate chips in the microwave in short intervals until smooth, then drizzle over each cup.
- Allow to cool at room temperature for about 20 minutes or refrigerate to set faster.
Nutrition
- Serving Size: 1 cup (40g)
- Calories: 170
- Sugar: 10g
- Sodium: 45mg
- Fat: 9g
- Saturated Fat: 3g
- Unsaturated Fat: 6g
- Trans Fat: 0g
- Carbohydrates: 19g
- Fiber: 1g
- Protein: 3g
- Cholesterol: 10mg