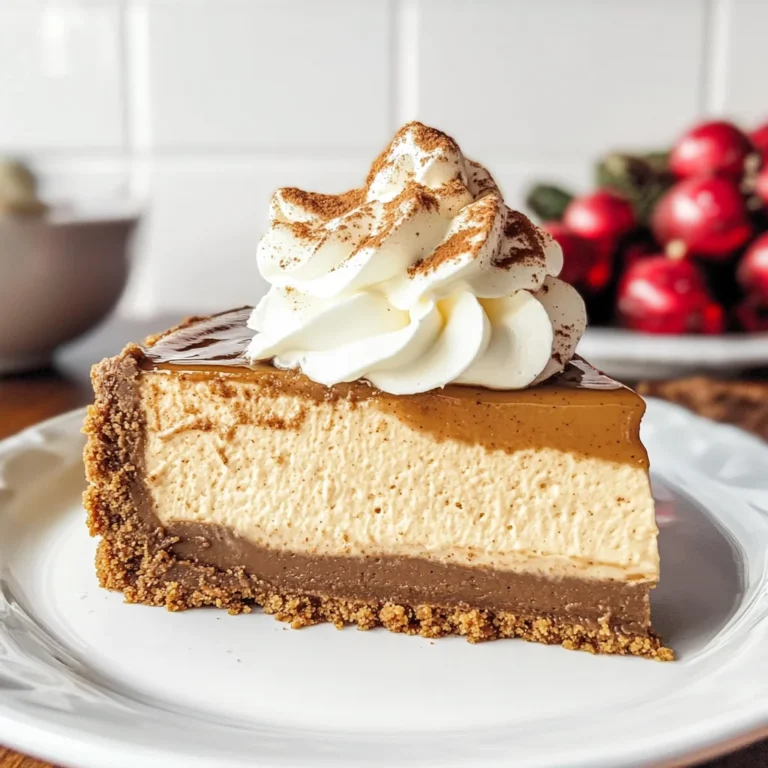
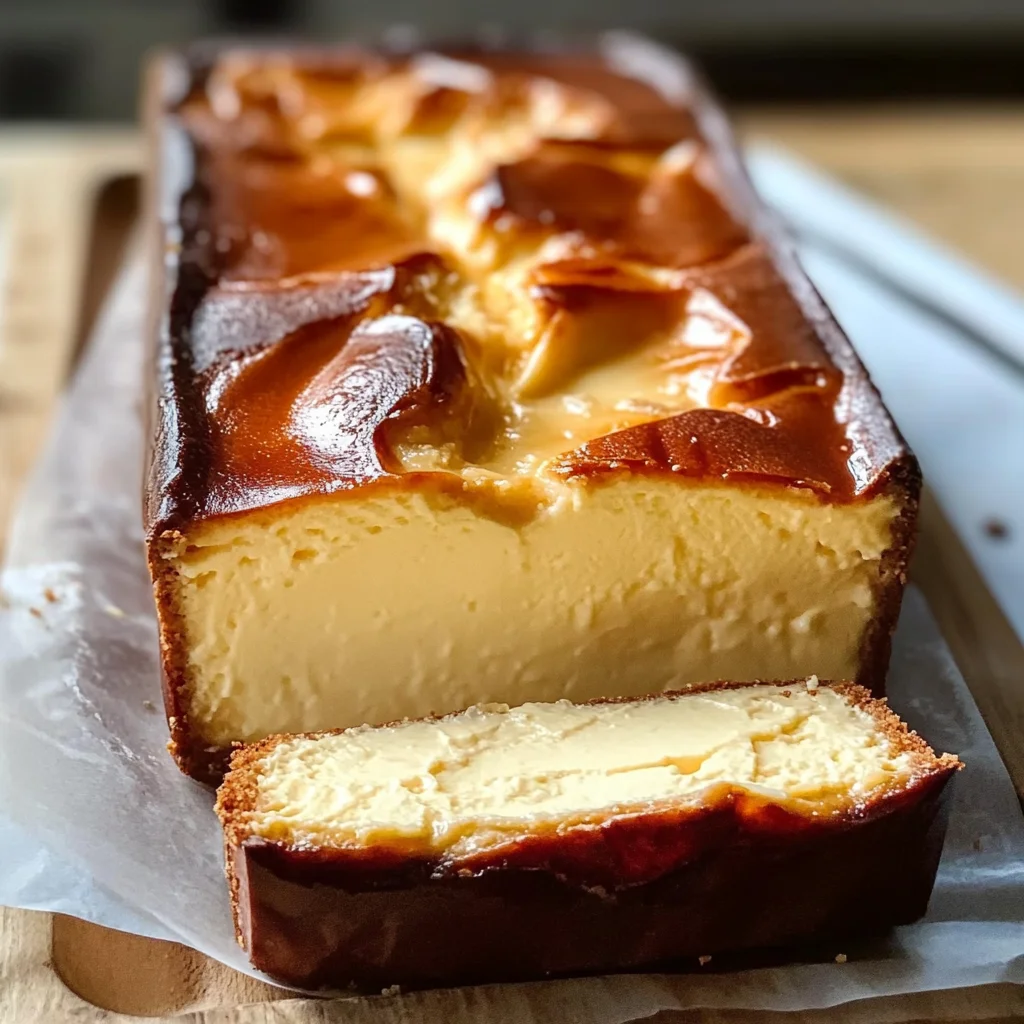
Burnt Basque Cheesecake in a Loaf Pan
If you’re looking for a dessert that’s as indulgent as it is easy to make, then you’ve come to the right place! This Burnt Basque Cheesecake in a Loaf Pan is my go-to recipe for satisfying sweet cravings. Its creamy texture and caramelized top are simply irresistible. Whether it’s a busy weeknight treat or a sweet finale for family gatherings, this cheesecake always delivers joy. Plus, baking it in a loaf pan makes it perfect for small batches, so you won’t have to worry about leftovers—unless you want them!
Why You’ll Love This Recipe
- Simple to Prepare: With just a few ingredients and minimal steps, this recipe is perfect for beginners and seasoned bakers alike.
- Family-Friendly: Everyone loves cheesecake! It’s a hit with kids and adults, making it a fantastic choice for any occasion.
- Make-Ahead Convenience: Prep this cheesecake ahead of time, refrigerate it overnight, and impress your friends and family when it’s time to serve.
- Decadent Flavor: The combination of rich cream cheese and heavy cream creates a luscious dessert that’s hard to resist.
Ingredients You’ll Need
This Burnt Basque Cheesecake in a Loaf Pan uses simple, wholesome ingredients that you probably already have in your kitchen. Here’s what you need:
For the Cheesecake
- 1 1/2 cups cream cheese, softened (full-fat)
- 1/2 cup granulated sugar
- 2 large eggs, room temperature
- 3/4 cup heavy cream
- 1/2 teaspoon vanilla extract
- 1/8 teaspoon salt
- 1 tablespoon all-purpose flour
Variations
One of the best things about this cheesecake is its flexibility! Feel free to get creative with these variations:
- Add Citrus Zest: A tablespoon of lemon or orange zest can brighten up the flavor wonderfully.
- Incorporate Chocolate: Swirl in some melted dark chocolate before baking for a rich twist.
- Nutty Crunch: Top with crushed nuts like almonds or hazelnuts for added texture on the crust.
- Fruit Topping: Serve with fresh berries or fruit compote to complement the creamy cheesecake.
How to Make Burnt Basque Cheesecake in a Loaf Pan
Step 1: Preheat Your Oven
Preheat your oven to 400°F (200°C). This high temperature is key to achieving that beautifully burnt top while keeping the center creamy. Also, line your loaf pan with parchment paper, leaving some overhang. This will make removing the cheesecake super easy later!
Step 2: Mix Cream Cheese and Sugar
In a large mixing bowl, beat together the softened cream cheese and granulated sugar until very smooth and fluffy. This step is important because it ensures there are no lumps in your cheesecake batter. The fluffiness will also contribute to that light texture we love!
Step 3: Add Eggs One at a Time
Add the eggs one at a time into your mixture, mixing well after each addition. This gradual incorporation helps create an even batter without overmixing, which can lead to cracks during baking.
Step 4: Incorporate Cream and Flavorings
Now pour in the heavy cream along with vanilla extract and salt. Beat until everything is fully incorporated and silky smooth. The heavy cream adds richness while the vanilla brings warmth—a match made in dessert heaven!
Step 5: Fold in Flour
Sift in the all-purpose flour gently and fold it into the batter until just combined. Folding helps maintain airiness while ensuring that no dry flour remains. We want our cheesecake rich but not dense!
Step 6: Pour Into Prepared Pan
Carefully pour your creamy batter into the prepared loaf pan. Give it a gentle tap on the counter to release any trapped air bubbles; this helps achieve that perfect texture throughout.
Step 7: Bake It Up!
Bake your cheesecake for about 40–45 minutes or until the top is deeply golden brown and the center still jiggles slightly when you shake it. That’s what gives it that signature burnt look while keeping it deliciously creamy inside.
Step 8: Cool and Chill
Once baked, allow your cheesecake to cool down to room temperature. Then pop it in the refrigerator for at least 4 hours (preferably overnight) before slicing. Chilling enhances its flavor and makes cutting easier!
Enjoy every bite of this delightful Burnt Basque Cheesecake in a Loaf Pan! It’s truly one of those desserts that brings people together around the table.
Pro Tips for Making Burnt Basque Cheesecake in a Loaf Pan
Making the perfect Burnt Basque Cheesecake might seem daunting, but with a few handy tips, you can achieve that beautifully caramelized top and creamy center every time!
-
Use Room Temperature Ingredients: Starting with cream cheese and eggs at room temperature ensures a smoother batter, preventing lumps and promoting even baking.
-
Don’t Overmix: While it’s important to mix until smooth, overmixing can incorporate too much air, which may cause your cheesecake to puff up and crack during baking. Aim for a silky consistency without excessive mixing.
-
Watch the Baking Time: Every oven is different, so keep an eye on your cheesecake as it bakes. You want that lovely burnt top while ensuring the center remains slightly jiggly.
-
Cool Before Refrigerating: Allowing the cheesecake to cool to room temperature before refrigerating helps set its texture without creating condensation, which can make it watery.
-
Use Parchment Paper: Lining your loaf pan with parchment paper not only makes removal easier but also helps prevent sticking, ensuring your cheesecake retains its beautiful shape.
How to Serve Burnt Basque Cheesecake in a Loaf Pan
Serving your Burnt Basque Cheesecake beautifully can elevate this delightful dessert into an indulgent experience. Here are some ideas to help you present it with style.
Garnishes
-
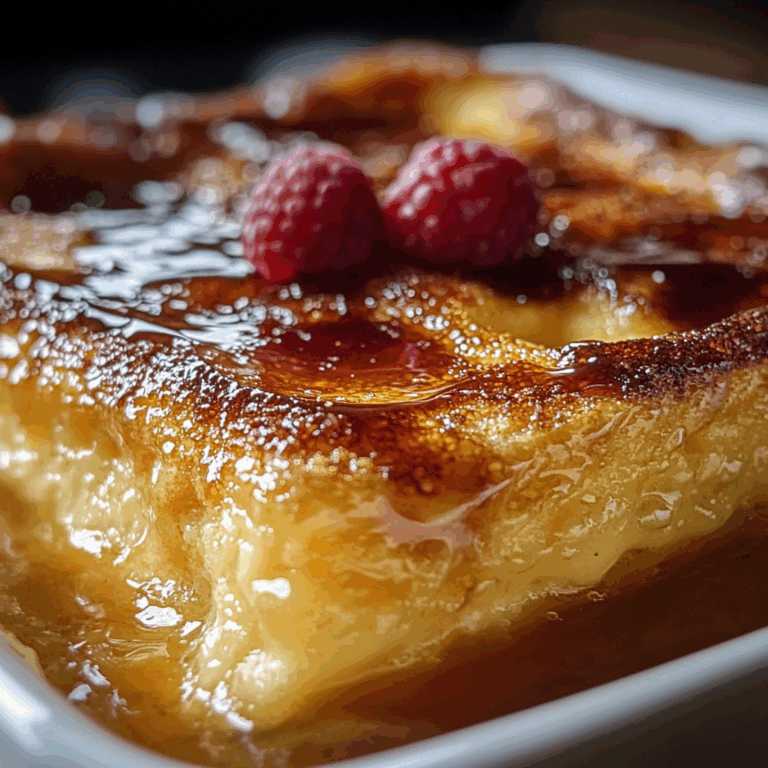
Fresh Berries: A handful of fresh raspberries or strawberries adds a pop of color and a refreshing tartness that complements the rich cheesecake.
-
Whipped Coconut Cream: For a dairy-free option, serve with light whipped coconut cream for added creaminess and a subtle sweetness.
-
Chocolate Shavings: A sprinkle of dark chocolate shavings on top can add an elegant touch and enhance the dessert’s richness.
Side Dishes
-
Coffee or Espresso: A cup of freshly brewed coffee or espresso pairs perfectly with the creamy texture of the cheesecake, balancing out its sweetness.
-
Fruit Salad: A light fruit salad featuring seasonal fruits provides a refreshing contrast to the dense cake, making for a well-rounded dessert experience.
-
Shortbread Cookies: The buttery crunch of shortbread cookies offers a delightful texture contrast and complements the creamy cheesecake nicely.
-
Herbal Tea: For those who prefer something soothing, serving your cheesecake alongside a warm cup of herbal tea creates a cozy atmosphere perfect for enjoying this decadent treat.
With these tips and serving suggestions, you’re all set to impress friends and family with your delicious Burnt Basque Cheesecake in a Loaf Pan! Enjoy every bite!
Make Ahead and Storage
This Burnt Basque Cheesecake in a Loaf Pan is an excellent option for meal prep. You can make it ahead of time, allowing the flavors to deepen and the texture to set beautifully. Here’s how to store and preserve your delicious creation:
Storing Leftovers
- Allow the cheesecake to cool completely before storing.
- Cover the loaf pan with plastic wrap or transfer slices to an airtight container.
- Store in the refrigerator for up to 5 days.
Freezing
- Wrap individual slices tightly in plastic wrap and then in aluminum foil for extra protection.
- Place wrapped slices in a freezer-safe bag or container.
- Freeze for up to 2 months for optimal taste and texture.
Reheating
- Thaw slices overnight in the refrigerator before enjoying.
- For a warm slice, place it on a microwave-safe plate and heat for about 10-15 seconds on medium power, checking frequently to avoid overheating.
FAQs
Here are some common questions you might have about making this delightful cheesecake.
Can I use a different size pan for Burnt Basque Cheesecake in a Loaf Pan?
Yes, you can use different sizes, but make sure to adjust the baking time accordingly. If using a smaller pan, keep an eye on it as it may bake quicker!
What makes Burnt Basque Cheesecake different from regular cheesecake?
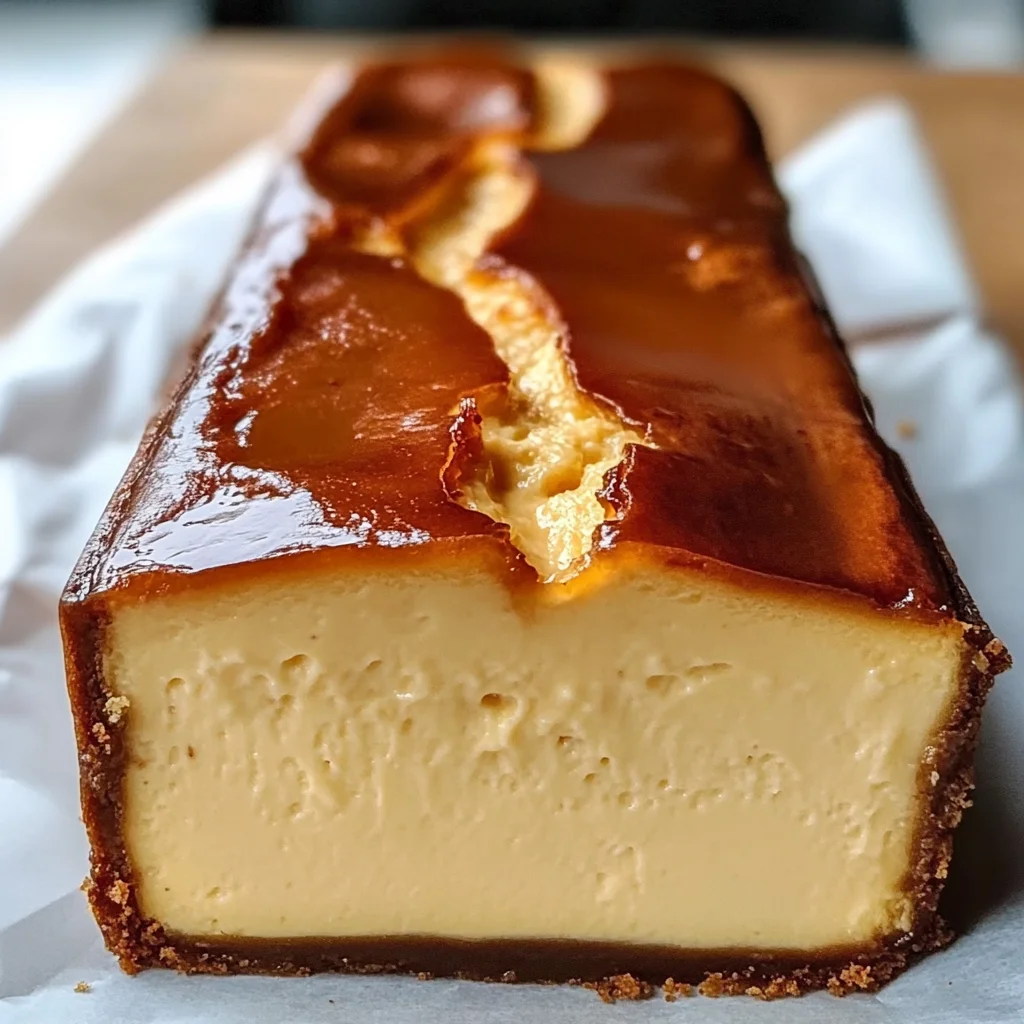
Burnt Basque Cheesecake has a caramelized top with a creamy custard-like center. It’s intentionally baked at high temperatures to achieve that unique flavor and texture contrast.
How do I know when my Burnt Basque Cheesecake is done?
The cheesecake should be deeply golden on top, while the center should still jiggle slightly when you gently shake the pan. It will continue to set as it cools.
Final Thoughts
I hope you’re as excited as I am about making this Burnt Basque Cheesecake in a Loaf Pan! It’s not just a treat; it’s an experience that combines rich flavors with a simple preparation process. Whether you’re whipping it up for yourself or sharing with friends, this dessert is sure to impress. Enjoy every creamy bite, and don’t hesitate to get creative with toppings or serve it alongside fresh fruits. Happy baking!
Burnt Basque Cheesecake in a Loaf Pan
Indulge in the creamy delight of Burnt Basque Cheesecake in a Loaf Pan. This easy-to-make dessert features a beautifully caramelized top and a custard-like center, making it an irresistible treat for any occasion. Perfect for meal prep, this small-batch cheesecake is just the right size to satisfy your sweet tooth without overwhelming you with leftovers. Whether it’s a weekday dessert or a special gathering, this cheesecake delivers joy in every slice. With simple ingredients and straightforward instructions, even novice bakers can create this decadent dessert that is sure to impress friends and family alike.
- Prep Time: 15 minutes
- Cook Time: 45 minutes
- Total Time: 1 hour
- Yield: Serves approximately 8 slices 1x
- Category: Dessert
- Method: Baking
- Cuisine: Not specified
Ingredients
- 1 1/2 cups cream cheese, softened
- 1/2 cup granulated sugar
- 2 large eggs
- 3/4 cup heavy cream
- 1/2 teaspoon vanilla extract
- 1/8 teaspoon salt
- 1 tablespoon all-purpose flour
Instructions
- Preheat oven to 400°F (200°C) and line your loaf pan with parchment paper.
- In a mixing bowl, beat softened cream cheese and sugar until smooth.
- Add eggs one at a time, mixing well after each addition.
- Pour in heavy cream, vanilla extract, and salt; mix until silky smooth.
- Sift in flour gently and fold to combine without overmixing.
- Pour the batter into the prepared loaf pan and tap gently to release air bubbles.
- Bake for 40–45 minutes until the top is golden brown and the center jiggles slightly.
- Cool to room temperature, then refrigerate for at least 4 hours before slicing.
Nutrition
- Serving Size: 1 slice (80g)
- Calories: 310
- Sugar: 20g
- Sodium: 210mg
- Fat: 22g
- Saturated Fat: 13g
- Unsaturated Fat: 9g
- Trans Fat: 0g
- Carbohydrates: 25g
- Fiber: <1g
- Protein: 5g
- Cholesterol: 105mg