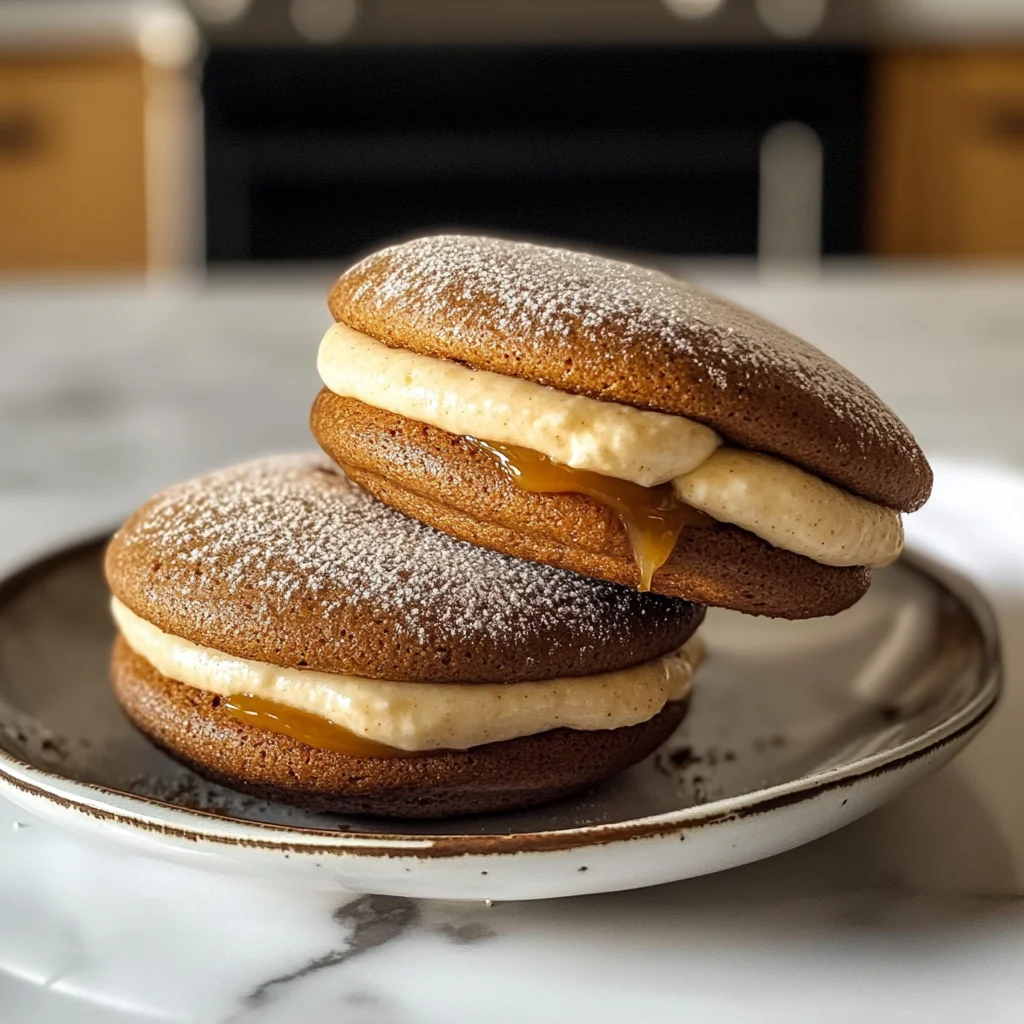
Apple Cider Whoopie Pies
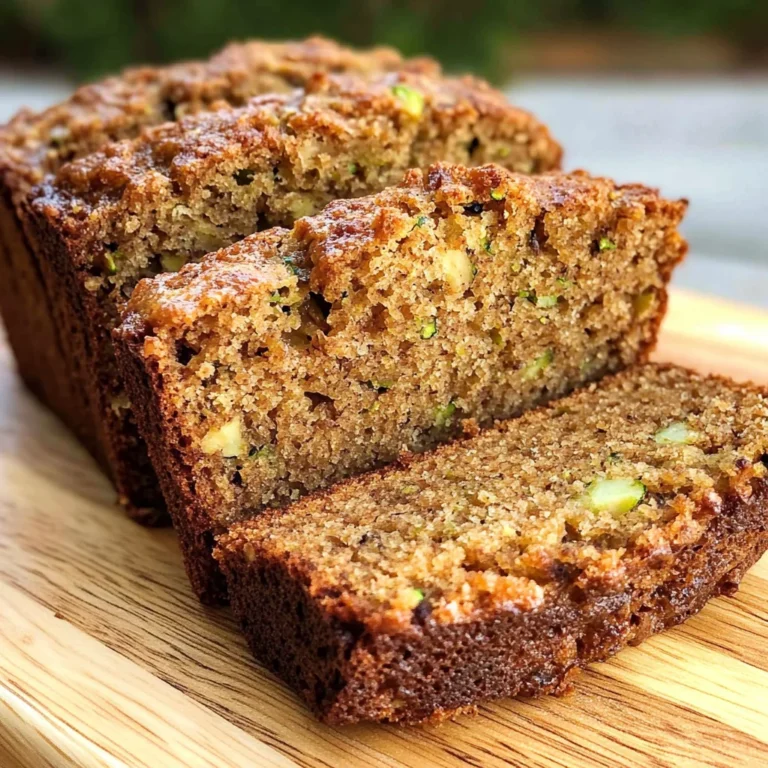
If you’re looking for a delightful treat that captures the essence of fall, then these Apple Cider Whoopie Pies are just what you need! Imagine soft, pillowy cookies hugging a sweet filling that tastes like autumn in every bite. This recipe holds a special place in my heart because it reminds me of cozy family gatherings and crisp, sunny afternoons. Whether it’s a busy weeknight or a festive celebration, these whoopie pies will bring joy to any occasion!
With their delicious blend of apple cider, cinnamon, and apple butter, these treats are perfect for sharing with friends or savoring all on your own. Trust me, once you try them, you’ll find yourself making excuses to whip up another batch!
Why You’ll Love This Recipe
- Easy to Make: With simple steps and straightforward ingredients, this recipe is perfect for bakers of all levels.
- Family-Friendly: Kids love the fun shape and sweet filling! They can even help assemble the pies.
- Perfect for Fall: The flavors of apple cider and spices make these whoopie pies a seasonal favorite.
- Make Ahead Convenience: Bake them ahead of time and store in an airtight container for fresh treats throughout the week.

Ingredients You’ll Need
These Apple Cider Whoopie Pies are made with simple, wholesome ingredients that you likely already have on hand. Gather up these goodies and let’s get baking!
For the Cookies
- 2 cups apple cider (reduced to 1/4 cup)
- ½ cup unsalted butter (room temperature, divided – 6 tablespoons for the dough and 2 tablespoons melted for brushing the baked cookies)
- 1 ¾ cups flour
- ½ teaspoon salt
- 1 teaspoon baking powder
- ¼ teaspoon baking soda
- 1 ½ teaspoon cinnamon
- ¼ teaspoon ginger
- ½ teaspoon nutmeg
- ½ cup granulated sugar
- ¼ cup plus 2 teaspoons brown sugar (light or dark, packed)
- ¼ cup apple butter or applesauce
- 2 eggs
- ¼ teaspoon vanilla
For the Cinnamon Sugar Coating
- 3 tablespoons butter (melted)
- ¼ cup sugar
- ½ teaspoon cinnamon
For the Filling
Bourbon Caramel Buttercream or Brown Sugar Cream Cheese Icing
- ½ cup unsalted butter (room temperature)
- 1 ¼- 1 ½ cups powdered sugar (sifted, add gradually until desired consistency is reached)
- 2 tablespoons plus 2 teaspoons Bourbon Caramel Sauce
- 1 pinch of salt
Brown Sugar Cream Cheese Icing
- 4 ½ ounces cream cheese (room temperature)
- 3 tablespoons butter (room temperature)
- 2 tablespoons brown sugar (light or dark)
- 2 cups powdered sugar (sifted, plus more if needed)
- ½ teaspoon vanilla extract
- 1 pinch salt
Variations
One of the best parts about this recipe is its flexibility! Feel free to mix things up according to your taste preferences.
- Add Nuts: Incorporate some chopped walnuts or pecans into the cookie dough for added crunch.
- Swap the Filling: Try using a maple frosting instead of caramel or cream cheese for a unique twist.
- Change Up the Spices: Experiment by adding cloves or allspice to give your cookies a different flavor profile.
How to Make Apple Cider Whoopie Pies
Step 1: Prepare the Cider Reduction
Preheat your oven to 350°F. In a medium saucepan, bring the apple cider to a boil over medium-high heat. Then reduce the heat to medium and simmer until it reduces down to just 1/4 cup. This step concentrates the flavor and gives your cookies that delicious apple cider taste! It takes about 30-35 minutes, so be patient; it’s worth it! Once reduced, set it aside to cool.
Step 2: Mix Dry Ingredients
While your cider cools, grab a medium-sized bowl and sift together your flour, baking powder, baking soda, salt, and spices. This helps evenly distribute everything and ensures no lumps in your batter.
Step 3: Cream Together Wet Ingredients
In a large bowl or using an electric mixer, beat together six tablespoons of softened butter with both sugars on medium speed until well combined. Scrape down sides as needed. Add in the vanilla followed by two eggs. Then mix in that lovely reduced apple cider along with apple butter or applesauce. Finally, turn your mixer on low and gently combine in the dry ingredients until just mixed.
Step 4: Shape Your Cookies
Using about 1 ½ tablespoons of dough per cookie mound, drop them onto lined baking sheets spaced three inches apart. This will give them room to spread as they bake. Rotate your pan halfway through baking time—about 11-13 minutes—until they spring back lightly when touched.
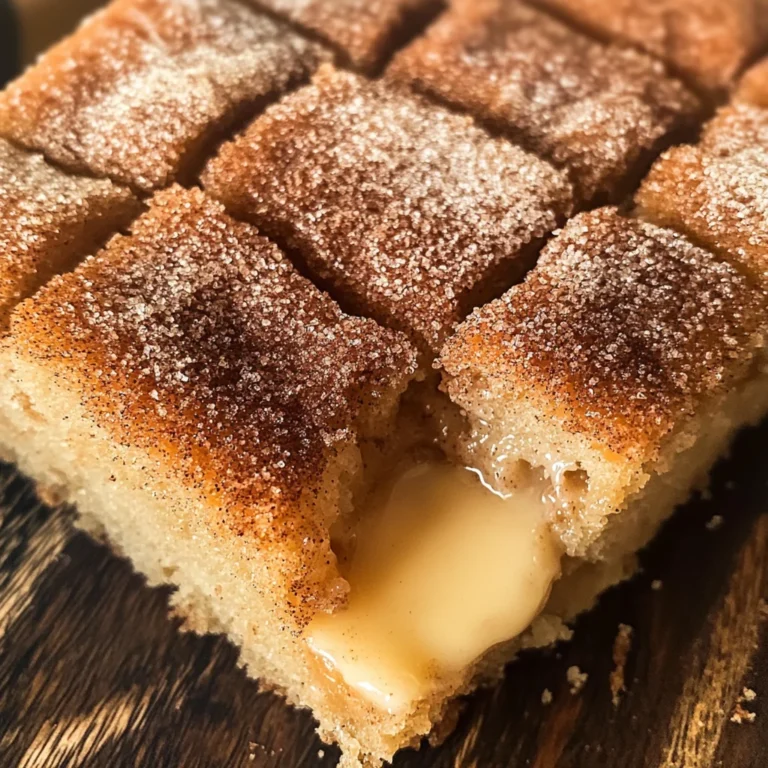
Step 5: Cool and Coat Your Cookies
Once baked, let those beautiful cookies rest on the sheet for five minutes before transferring them to a wire rack to cool completely. Brush them with melted butter while they’re still warm and sprinkle generously with cinnamon sugar—this step adds a delightful crunch!
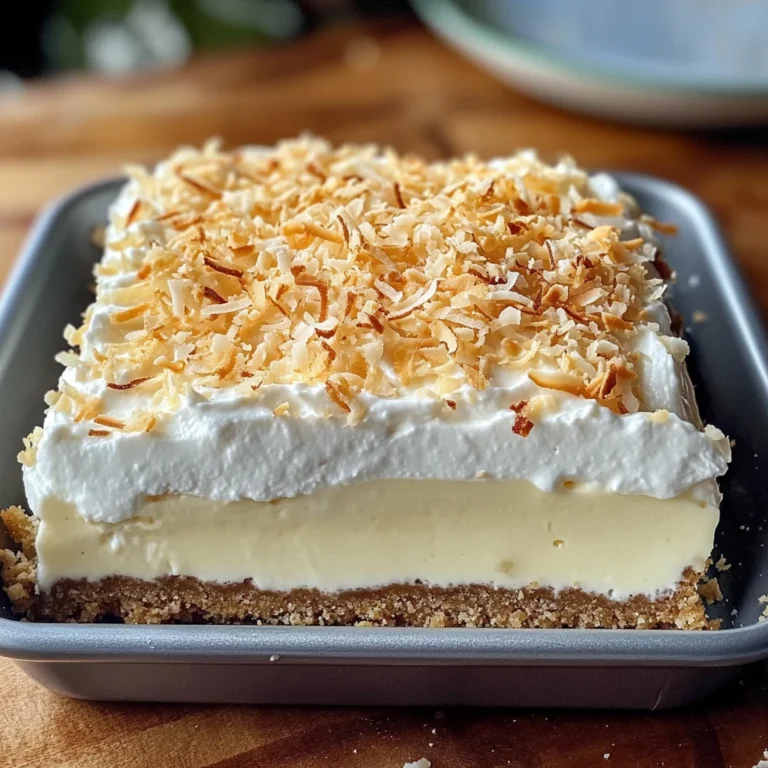
Step 6: Fill Your Whoopie Pies
Once cooled entirely, fill each cookie with either Bourbon Caramel Buttercream or Brown Sugar Cream Cheese Icing—both options are heavenly! Don’t forget to drizzle some extra caramel sauce if you’re feeling indulgent.
Now you’re ready to enjoy these scrumptious Apple Cider Whoopie Pies! They’re sure to become a favorite at every gathering!
Pro Tips for Making Apple Cider Whoopie Pies
Crafting the perfect Apple Cider Whoopie Pies is all about attention to detail and a sprinkle of love!
-
Reduce the Cider Properly: Make sure to simmer the apple cider until it reduces to 1/4 cup. This concentrates the flavors, giving your whoopie pies that delightful apple cider taste that makes them so special.
-
Room Temperature Ingredients: Use room temperature butter and cream cheese for the filling. This ensures smoother mixing and helps achieve that light, creamy texture in your frosting.
-
Don’t Overmix: When combining the wet and dry ingredients, mix just until combined. Overmixing can lead to tough cookies instead of soft, fluffy ones.
-
Use a Cookie Scoop: Utilizing a cookie scoop makes portioning the dough easy and uniform. This helps ensure even baking, resulting in perfectly shaped pies every time.
-
Cool Completely Before Filling: Allow your cookies to cool completely on a wire rack before adding your filling. This prevents melting and ensures that your whoopie pies have the ideal structure and flavor balance.
How to Serve Apple Cider Whoopie Pies
Apple Cider Whoopie Pies make an inviting centerpiece for any fall gathering or cozy family dessert night! Here are some serving ideas to elevate this delightful treat:
Garnishes
- Cinnamon Sugar Dusting: A light sprinkle of cinnamon sugar on top adds a sweet finish and enhances the autumnal flavor profile.
- Caramel Drizzle: A drizzle of homemade or store-bought caramel sauce over each pie can add richness and an appealing visual touch.
- Chopped Nuts: Finely chopped pecans or walnuts can provide a crunchy contrast to the soft whoopie pies while enhancing their rustic charm.
Side Dishes
- Warm Spiced Apple Cider: Serve alongside a steaming mug of spiced apple cider for a comforting experience that complements the flavors in the whoopie pies.
- Pumpkin Spice Latte: This seasonal favorite pairs beautifully with apple desserts, creating a cozy vibe perfect for fall gatherings.
- Autumn Salad: A fresh salad with mixed greens, dried cranberries, walnuts, and a light vinaigrette adds brightness and balances out the sweetness of the whoopie pies.
- Vanilla Ice Cream: A scoop of vanilla ice cream provides a creamy contrast that pairs delightfully with these soft cookies—perfect for those who love a little extra indulgence!
Enjoy making your Apple Cider Whoopie Pies and remember, every bite is like a hug from autumn!
Make Ahead and Storage
These Apple Cider Whoopie Pies are perfect for meal prep! You can whip up a batch ahead of time and store them for a delightful treat throughout the week.
Storing Leftovers
- Place any leftover whoopie pies in an airtight container.
- Store them in the refrigerator for up to 5 days.
- For best flavor, allow them to come to room temperature before enjoying.
Freezing
- Wrap each whoopie pie individually in plastic wrap or aluminum foil.
- Place wrapped pies in a freezer-safe bag or container.
- They can be frozen for up to 3 months. Thaw in the refrigerator overnight before serving.
Reheating
- If you prefer your whoopie pies slightly warm, microwave one on low power for about 10-15 seconds.
- Alternatively, place them in a preheated oven at 300°F (150°C) for about 5 minutes until warmed through.
FAQs
Here are some common questions about making these delicious Apple Cider Whoopie Pies!
Can I use store-bought apple butter for Apple Cider Whoopie Pies?
Absolutely! Using store-bought apple butter is a great time-saver, and it will still give you that rich flavor that complements the cinnamon and apple cider perfectly.
How do I ensure my Apple Cider Whoopie Pies turn out soft and fluffy?
To achieve soft and fluffy whoopie pies, be careful not to overmix the batter once you add the flour. Mix just until combined, and make sure your butter is at room temperature before you start mixing!
Can I substitute other spices in the Apple Cider Whoopie Pies recipe?
Yes! Feel free to experiment with spices like allspice or cardamom if you want to add your own twist. Just keep in mind that they will change the flavor profile slightly.
How long do Apple Cider Whoopie Pies last?
When stored properly in an airtight container, these whoopie pies will stay fresh for about 5 days in the refrigerator. They also freeze well if you want to save some for later!
Final Thoughts
I hope you’re as excited to make these Apple Cider Whoopie Pies as I am! They’re not just another dessert; they capture the essence of fall with every bite. Whether you’re treating yourself or sharing with loved ones, these whoopie pies are sure to bring joy and warmth. Enjoy baking them, and don’t forget to let me know how they turn out!
Apple Cider Whoopie Pies

Indulge in the delightful flavors of fall with these Apple Cider Whoopie Pies. Soft, cake-like cookies embrace a luscious filling that captures the essence of autumn in every bite. With a delightful blend of apple cider, cinnamon, and apple butter, these whoopie pies are perfect for any occasion—whether it’s a cozy family gathering or a festive celebration. Easy to make and fun for all ages, this recipe invites you to create sweet memories while enjoying these scrumptious treats. Once you try them, you’ll find yourself wanting to bake another batch!
- Prep Time: 20 minutes
- Cook Time: 13 minutes
- Total Time: 33 minutes
- Yield: Approximately 12 servings 1x
- Category: Dessert
- Method: Baking
- Cuisine: American
Ingredients
- 2 cups apple cider (reduced to 1/4 cup)
- ½ cup unsalted butter (room temperature, divided – 6 tablespoons for the dough and 2 tablespoons melted for brushing the baked cookies)
- 1 ¾ cups flour
- ½ teaspoon salt
- 1 teaspoon baking powder
- ¼ teaspoon baking soda
- 1 ½ teaspoon cinnamon
- ¼ teaspoon ginger
- ½ teaspoon nutmeg
- ½ cup granulated sugar
- ¼ cup plus 2 teaspoons brown sugar (light or dark, packed)
- ¼ cup apple butter or applesauce
- 2 eggs
- ¼ teaspoon vanilla
- 3 tablespoons butter (melted)
- ¼ cup sugar
- ½ teaspoon cinnamon
- ½ cup unsalted butter (room temperature)
- 1 ¼– 1 ½ cups powdered sugar (sifted, add gradually until desired consistency is reached)
- 2 tablespoons plus 2 teaspoons plant-based caramel sauce
- 1 pinch of salt
- 4 ½ ounces plant-based cream cheese (room temperature)
- 3 tablespoons butter (room temperature)
- 2 tablespoons brown sugar (light or dark)
- 2 cups powdered sugar (sifted, plus more if needed)
- ½ teaspoon vanilla extract
- 1 pinch salt
Instructions
- Preheat your oven to 350°F (175°C). In a saucepan, reduce 2 cups of apple cider to 1/4 cup over medium heat.
- In a bowl, sift together flour, baking powder, baking soda, salt, and spices.
- Cream together 6 tablespoons of softened butter with granulated and brown sugar until fluffy. Add eggs and vanilla. Mix in the reduced cider and apple butter.
- Gradually combine dry ingredients until just mixed.
- Drop tablespoon-sized mounds onto lined baking sheets spaced apart. Bake for 11-13 minutes until lightly springy.
- Cool cookies on wire racks before brushing with melted butter and sprinkling with cinnamon sugar.
Nutrition
- Serving Size: 1 whoopie pie (60g)
- Calories: 190
- Sugar: 15g
- Sodium: 90mg
- Fat: 8g
- Saturated Fat: 5g
- Unsaturated Fat: 3g
- Trans Fat: 0g
- Carbohydrates: 29g
- Fiber: 1g
- Protein: 2g
- Cholesterol: 30mg